
How to Take Abstract Underwater Images
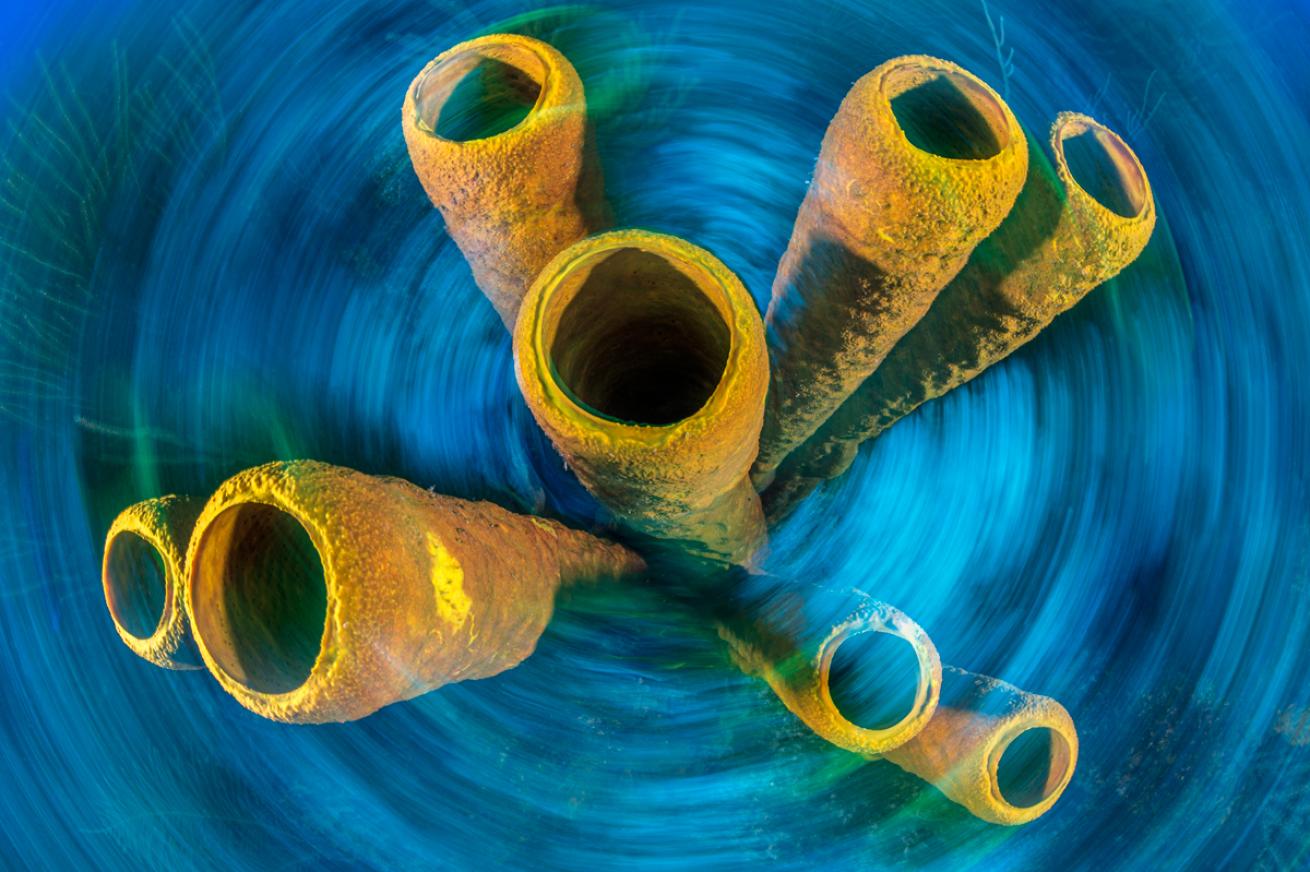
Alex MustardThe circles of this yellow tube sponge combine with the spiral formed by camera rotation and long exposure.
An abstract photo is simply one in which capturing the recognizable, real-world appearance of the subject isn’t the aim of the picture. This branch of photography weaves in graphic design—looking for eye-catching patterns, shapes, colors and textures in a subject, or using photographic technique to transform the look of a scene.
Tip 1: Delightful Details
The underwater world is packed with bizarre life forms that seem precision- engineered specifically for detail images. Unlike on land, there is a huge diversity of animals in the sea that don’t move, whose bodies are painted in bright hues, with meticulous designs and attractive symmetries. The picture will be in the details—your big challenge is to find it. Don't think about what the subject is, but look for attractive features within it. This might be a single tentacle, a repeating pattern of polyps, a spiral or feathery feeding apparatus, or a symmetrical splay of tube feet. When framing up, include only what is needed and leave everything else out.
Detail photos are typically close-ups. You usually want everything as sharp as possible to contribute to the story.
To do this, maximize depth of field by closing the aperture down and shooting so the back of the camera is parallel to the subject. Use a low ISO and fast shutter speed so the only light you capture comes from your strobes. If the picture is more about colors and details, then use two strobes to evenly light the scene; if it is more about shapes and textures, use one strobe angled across the scene.
Abstract patterns look even better presented together so the viewer can appreciate the similarities and differences. Try combining four coral-pattern images by cropping them square and joining them together as a new larger square with each quarter different. These montages can be an original way to tell the story of a dive site or a trip.
Tip 2: Creative Choices
You can also create abstract images through photographic technique—making creative choices to change how your subjects appear. Start by experimenting with shallow depth of field by opening up the aperture of your macro lens for a razor-thin plane of focus, with all the other details blurred. These shots work best when a key feature of the subject falls into the plane of focus, such as a small creature or the eyeball of a bigger animal. The technique is particularly effective on multicolored subjects, with bright pinpricks of color expanding to blobs, before blurring to a buttery-smooth background.
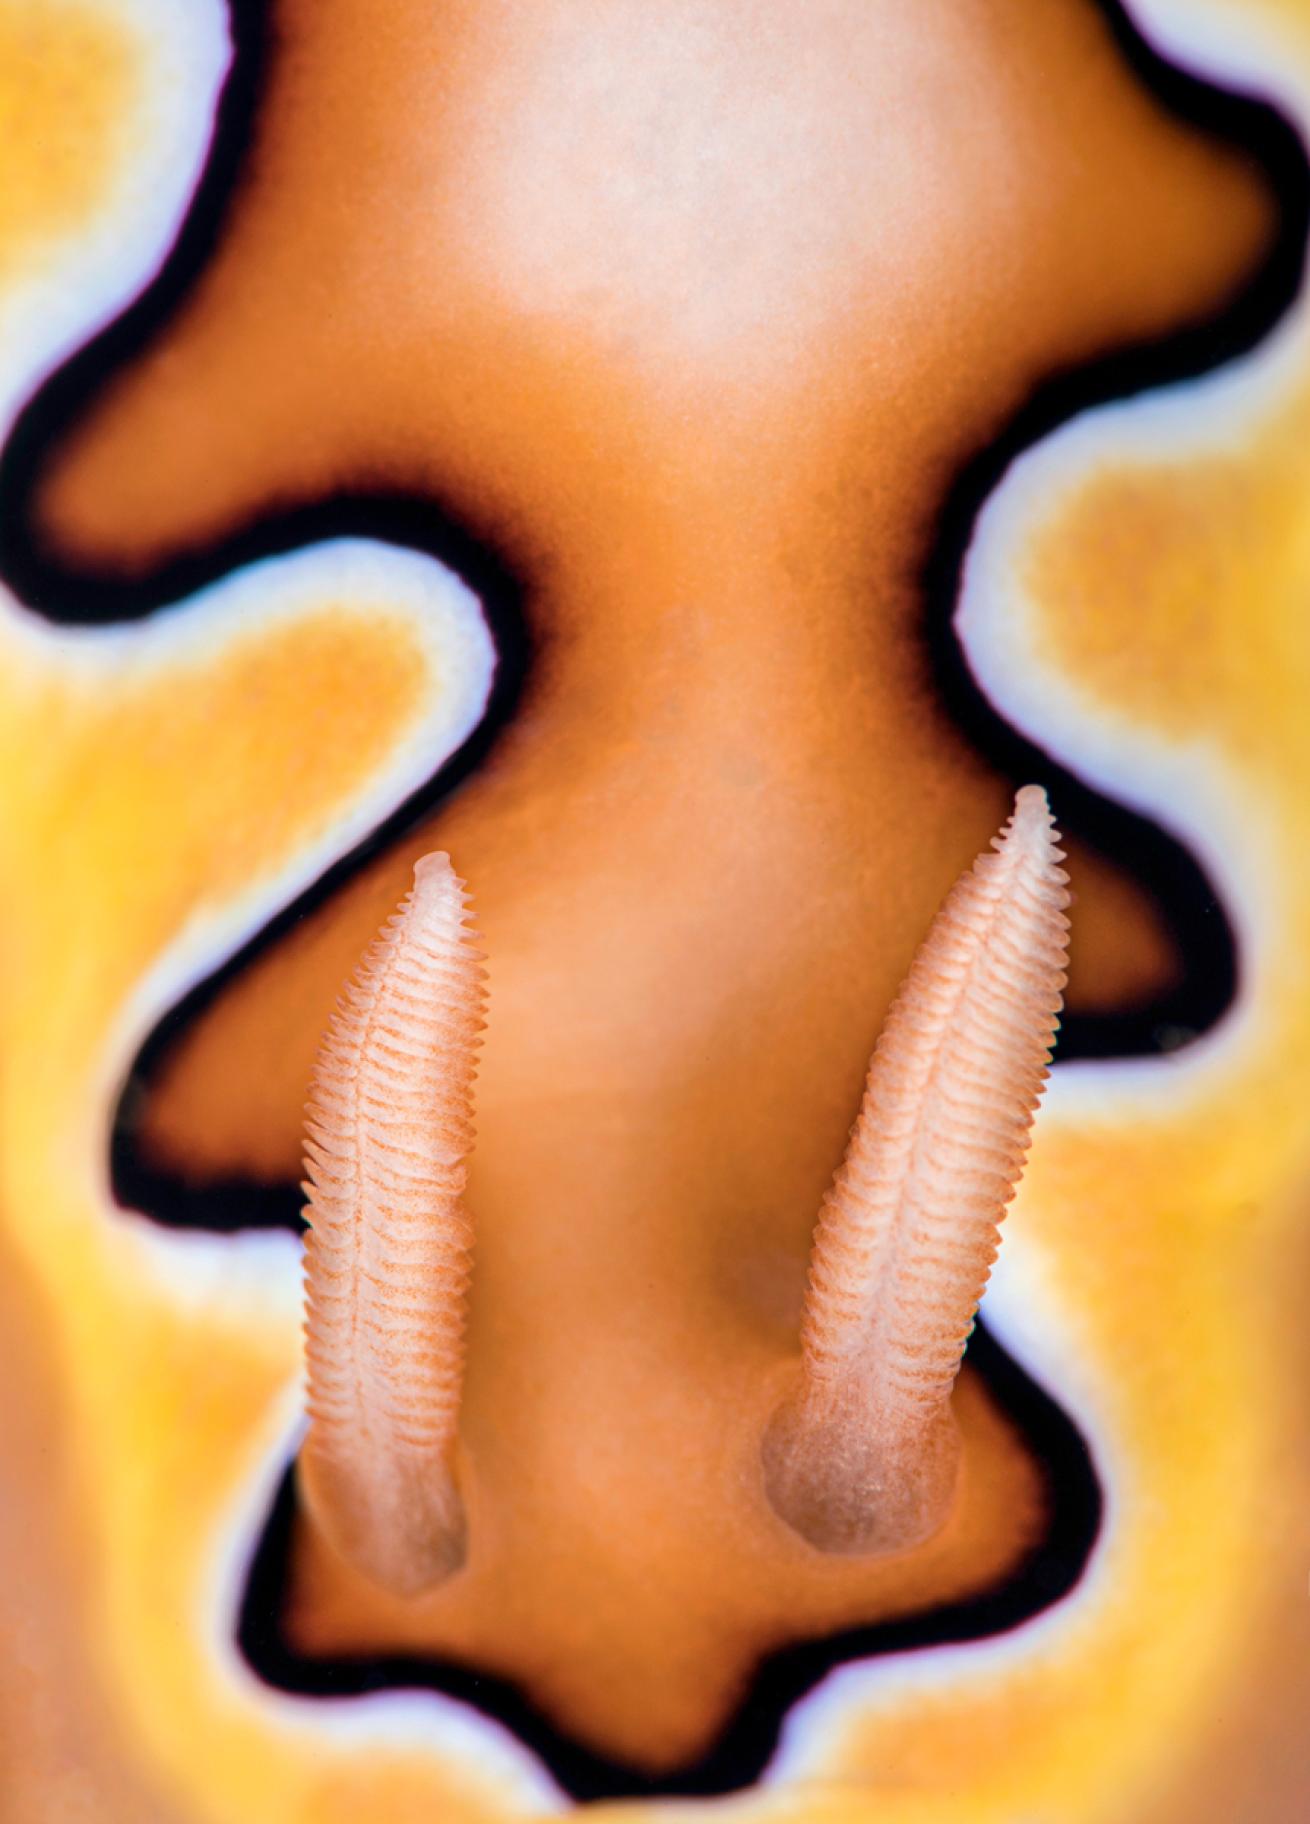
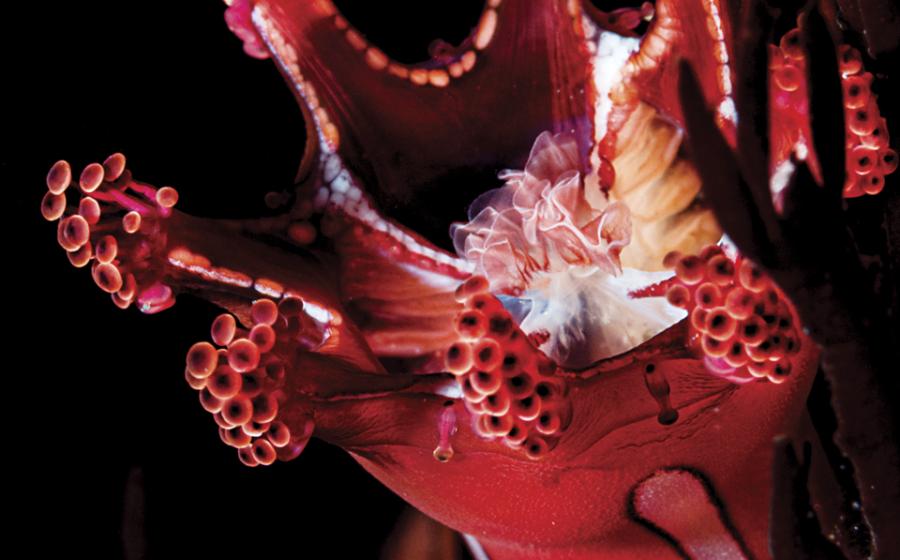
Alex MustardYou may recognize this as a nudibranch, but for most people it is just an intriguing natural pattern.
Experimentation with certain vintage lenses is becoming increasingly popular in open-aperture shooting. These older lenses, with more basic constructions than modern designs, produce an attractive out-of-focus blur. Interesting lenses include Trioplan 100mm and 50mm, Revuenon 55mm, Oreston 50mm, and Petzval 85mm. Most of these lenses require adaptors to use on modern cameras and are therefore completely manual. They are a challenge, but lots of fun too.
Different shutter speeds can also abstract a scene. Long exposures allow a camera to record movement of the subject and your intentional movement of the camera. A totally blurred image is usually disappointing, but you can create stunning imagery when attractive blur is juxtaposed with sharpness. In long exposures, that sharp detail is frozen by your strobe’s flash.
The timing of flash synchronization makes a big difference in the success or failure of such shots. Most cameras give two options: When the flash is set to fire at the start of a long exposure, it is called first- or front-curtain synch. When it fires at the end of a long exposure, it is called second- or rear-curtain synch. In a normal, short exposure it makes little difference which you use, because there are only milliseconds between them. But as you lengthen your exposures, the choice becomes much more important. As a rule, I use rear-curtain when holding the camera stationary (and relying on the subject moving), and front-curtain when I plan to move the camera during the photo.
Intentionally moving the camera during a photo can be a powerful creative tool, particularly well-suited to flash photography underwater. Sweeping the camera horizontally in the same direction that the subject is moving is called panning. It works best if you move the camera slightly faster than the subject, which makes the blur extend out backward from the subject. Rotating the camera creates swirling circles of blur around the subject. It takes much less movement than you might imagine; you only need to make about one-third of a full rotation to create sweeping circles around the frame. Both are fun to experiment with, and having fun is a big part of shooting abstracts.