
How to Take Great Photos of Coral Reefs
Alex MustardIf your scene doesn’t have a focal point, it can feel like a background.
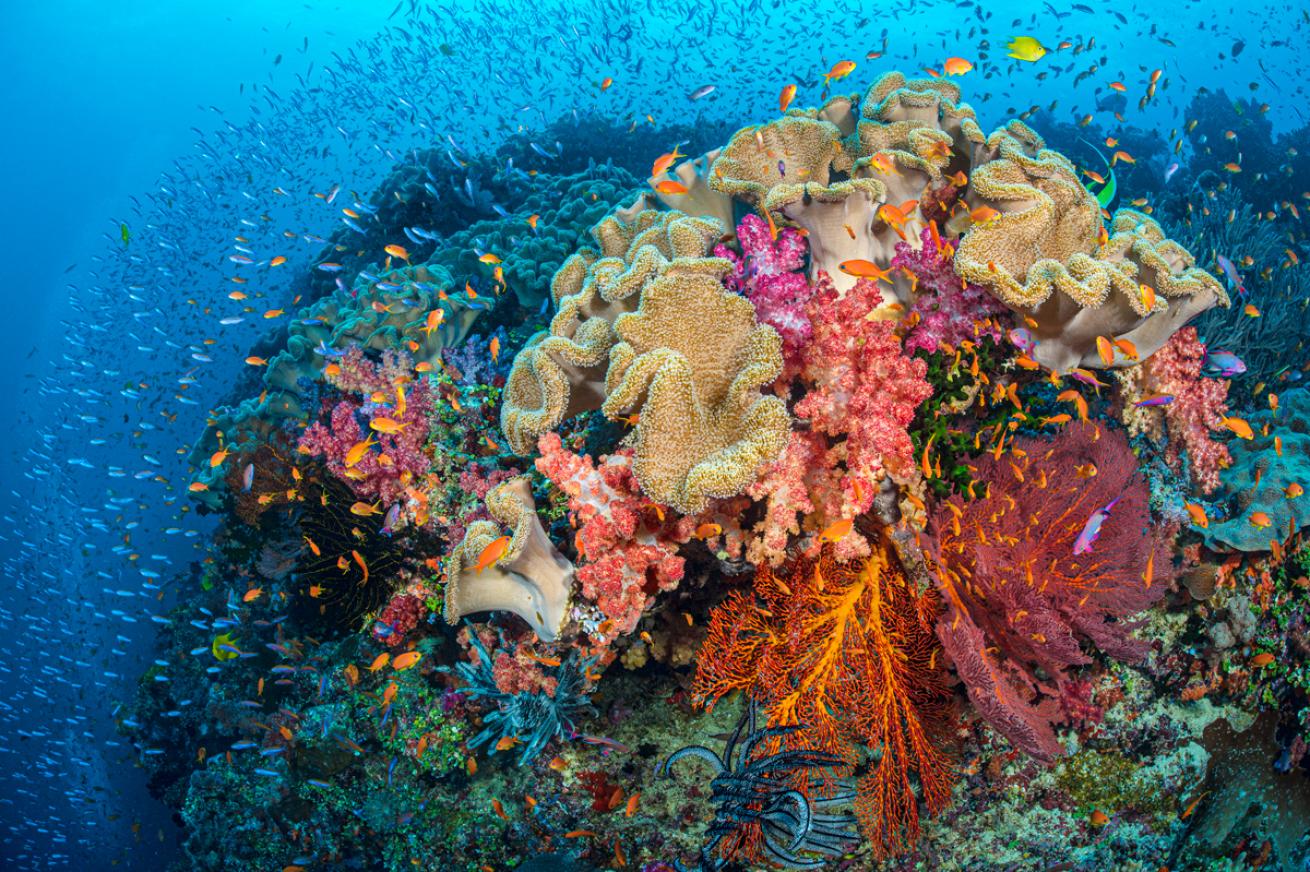
It has been a while since I have seen them, but when I close my eyes, I can instantly transport myself back to the scenery of the world’s most stunning reefs, where the blue water sparkles, clouds of colorful fish dance and corals grow in gaudy hues and outrageous shapes.
Those reefs are certainly out there and they are waiting for our return, as destinations slowly reopen for tourism. My aim in this issue is to make sure that you are ready photographically to record these magnificent vistas and share them with those that may never see them otherwise.
Capturing the majesty of coral reef scenery is much harder than it looks. Get too close and you will fail to represent the grandeur of the scene. Shoot from too far away and you risk losing the color and detail that bring the vista to life. Even the best in the business struggle to capture scenic shots that live up to the standard of the rest of their portfolio.
On a liveaboard trip a few years ago, I pointed my group to the handful of celebrated coffee-table books on board and encouraged them to absorb some influences. To my surprise, across five books we found only four photos that would be classified as reef scenes.
Tip 1: Practice Like You Play
Great reef scenes are made, not taken. Rarely captured by chance, these shots require us to get lots of things right. The key to doing that is to practice.
With practice, many of the steps become second nature. This comfort with technique becomes imperative when you’re diving a stunning and remote site where the reef is alive with color and movement, and the current is running.
The first step to sumptuous wide-angle reef shots is mastering your technique. These photographs are difficult to pull off, particularly when it comes to lighting. But technical perfection is not enough. You also need to make the picture artistically compelling enough to draw the audience in.
It is up to you to make the most of the colors, shapes and life in your composition. Producing stunning wide-angle pictures challenges both the right and left sides of the brain, but the bonus of overcoming this dual challenge is the satisfaction that comes from nailing the shot.
Tip 2: Step-By-Step
With so many elements to consider, it is best to break the process down and build up to outstanding pictures. Lighting is the main technical challenge you will encounter, and the type of shot you’re taking will determine what kind of lighting is required.
First, decide what your goal for the shot is, and optimize your settings and setup accordingly. When shooting scenes, you want to keep everything in focus by closing the aperture down and turning your strobes up. These are shots where you exploit that flash power you’ve paid for! Next, adjust your shutter speed to get a blue that pleases you. Too bright and you’ll need to shorten the exposure, too dark and you’ll have to lengthen it. If achieving a nice blue requires an extreme shutter speed, you can tweak the ISO up or down to bring it to a more reasonable value.
Tip 3: Expert Composition
While lighting is essential for your pictures to come out, it is composition that makes them really stand out. A basic formula for composition is to combine a strong foreground subject with a background that creates a feeling of depth in the frame.
This technique is sometimes referred to as “near and far,” and encourages photographers to look for both a foreground and background subject. Although this is a useful memory aid, you will definitely want more than just two elements in the frame.

Alex MustardInclude fish in your scenic shots to bring life, dimension and energy into the photo.
For big scenes, your strobes need to be out on long arms. This positioning illuminates the reef, but not too much backscatter. If you want a close-focus composition then the strobes must be pulled in tighter and the powers reduced. If your main subject is off center then your strobes will have to be on different powers to light the scene with natural-looking, even light. This is especially true with close-focus work.
The main mistake photographers make is fixating on the scene in the view-finder or screen. While moving in and out and looking at the screen may improve the composition, it will likely ruin your lighting. This is the main cause of wide-angle photos with either too much backscatter or with a poorly lit subject and areas that are either blown out or cast in deep shadow. Remember that if you decide to change composition, you will also need to adjust lighting.
In fact, the more layers in the picture, the more three-dimensional it will feel. A common way to boost the impact of your wide-angle scenes is by utilizing complementary colors. A color stands out most when set against an opposite color.
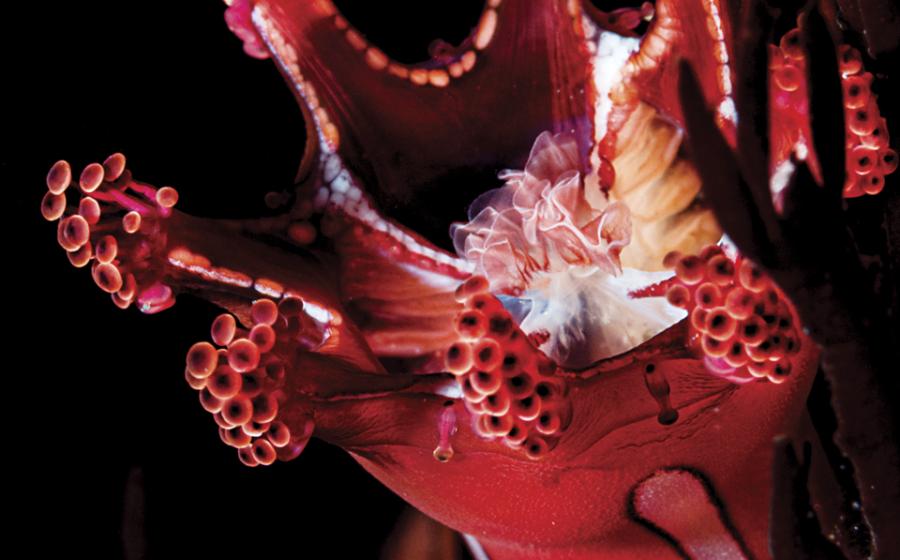
Underwater, where the backgrounds are typically shades of blue, you should search for warm-colored subjects—such as a yellow sponge, orange sea fan or red anemone—to frame against the water for eye-catching visuals.
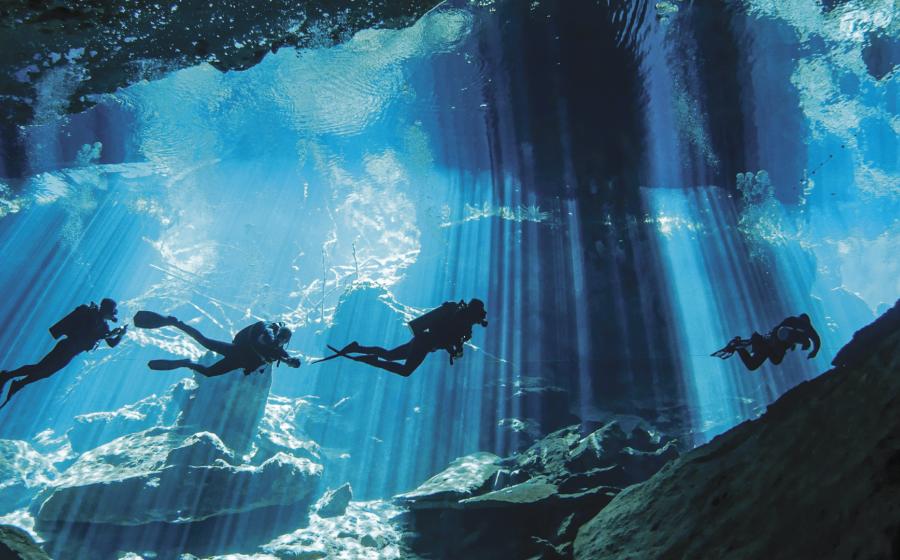
You can go on to add background depth by including elements such as a silhouetted reef, fish, divers, water surface texture and ultimately, from 94 million miles away, the sun.
Sunbursts can be challenging to include, so if you don’t want to deal with the sun in your shot, search for a subject that is in the shade.
This way, when you frame up your shot, the sun will be hidden but you will still be able to capture the attractive beams of light.
Good backgrounds tend to be rarer than appealing subjects, so many photographers actually look for a suitable background first—such as an outcrop or over-hang—before searching nearby for subjects.
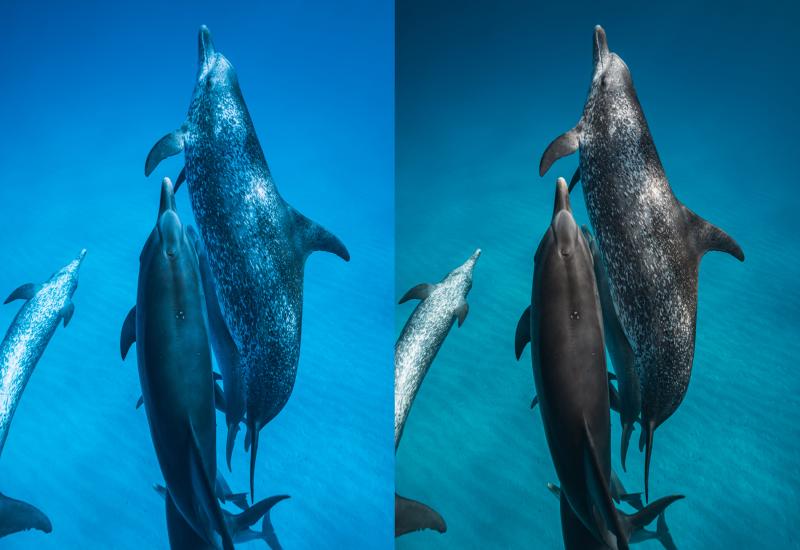
The background usually sets the atmosphere for wide-angle shots. Pictures taken toward the light will have simple silhouetted backgrounds, giving high impact.
If you shoot with the light, you will get a very different feel. The illuminated details will contribute to the story you are trying to tell. Shooting with ambient light on the scene will also bring out the best blues. There is no right or wrong. How you use ambient light to create the look and feel of the image you want is completely up to you.