How to Use a Snoot in Underwater Photography
Light and MotionNailing snoot best practices can improve your underwater photography.
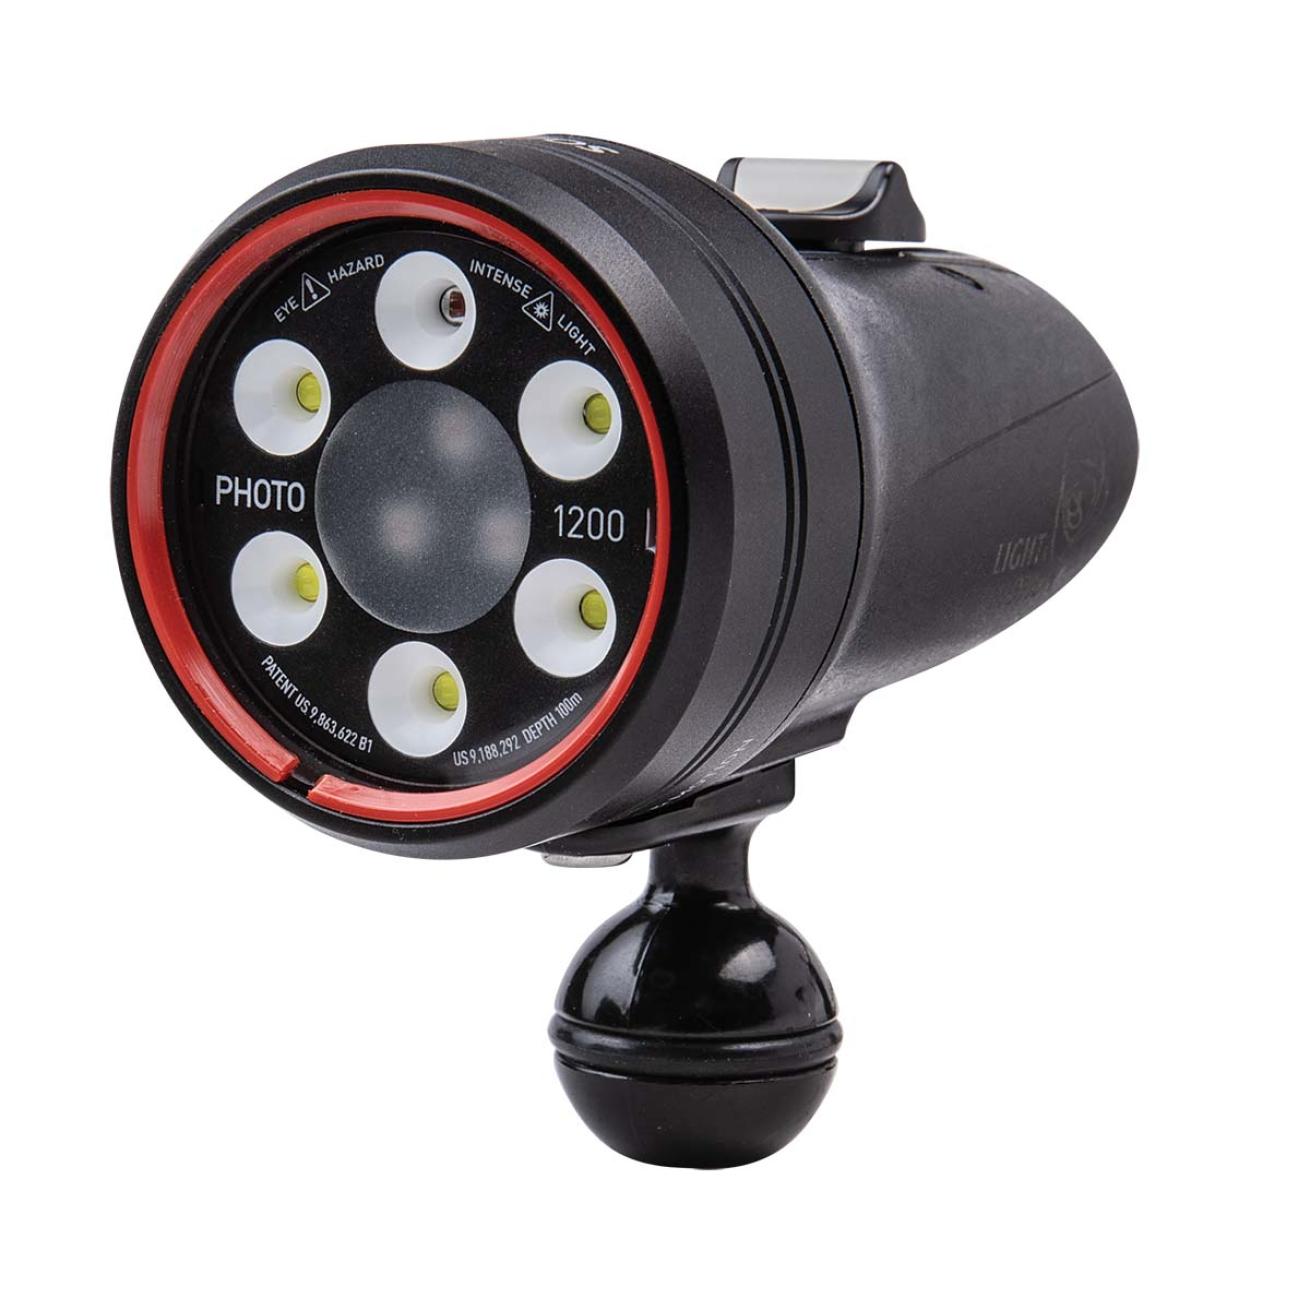
TYou’ll find a snoot in the camera bag of most serious macro photographers. This tube narrows the beam of light from your strobes or video lights to highlight a subject. Each snoot has slightly different features that will appeal to different photographers.
Choose Wisely
Several snoots are made for specific strobes and lights, while others include replaceable bases that expand compatibility with popular high-end strobe models. Upgrading your strobe to a newer model increases your choice of snoots. As a bonus, you get better flash specs and a powerful modeling light that will help you aim the snoot, eliminating the need for the tedious “guess, adjust, reshoot” process.
Snoot accessories allow you to shoot large and small macro subjects, and expand creative possibilities. These include filters to control the diameter and shape of the light, gels to create colored light, and multiple beams. Size, weight and price are also important considerations.
Practice, Practice, Practice
Practice makes perfect. I’m a big fan of practicing on land: Set up your camera, turn on the modeling light and practice positioning the light on a subject in front of your macro port. Periodically look up to see just where the snoot is positioned so that you have a general reference underwater.
Once in the water, you will achieve best results by stabilizing your camera as much as possible. Any small movement between camera and subject will require repositioning of the snoot.
Finally, be sure to experiment with distance of the snoot to the subject. Snoots will have a range where they deliver best results, combining maximum light intensity with crisp light falloff.

