
How to Use Snoots to Light Your Macro Photography

Thomas AndersonLearning how to properly use a snoot will help you snag the best shot possible.
Many divers take up underwater photography because they are drawn to small critters. Luckily, macro is an easy way to get started with underwater photography. Lighting macro subjects is simpler than lighting wide-angle scenes. This is because macro scenes don’t require much illumination, and your flash isn’t competing with a lot of ambient light. But once you get the hang of simply lighting a small subject, how can you take it to the next level? How can you lift camouflaged subjects off the background or create a more dramatic image? The answer comes in the form of a snoot.
A snoot is more than just a funny-sounding word. It is a device used to narrow and sometimes concentrate a flash’s beam to a smaller point. There are two main types of snoots: funnel and optical. Funnel snoots physically restrict the flash beam to a smaller point. They are inexpensive and simple but less efficient in transmitting light and more difficult to aim. On the other hand, optical snoots use lenses to concentrate the flash beam, making it brighter. Optical snoots are often easier to aim since they integrate the flash’s aiming lights. Optical snoots are preferred for these advantages and will help smooth out the initial learning curve.
Related Reading: How to Care for Your Underwater Camera Housing

This side-eyeing blenny was shot using a Nikon Z9, Nikon 105mm MC f/2.8 macro lens with an AOI UCL-09 wet diopter for even closer focusing, Backscatter Mini Flash 2 and OS-1snoot.
The Gear
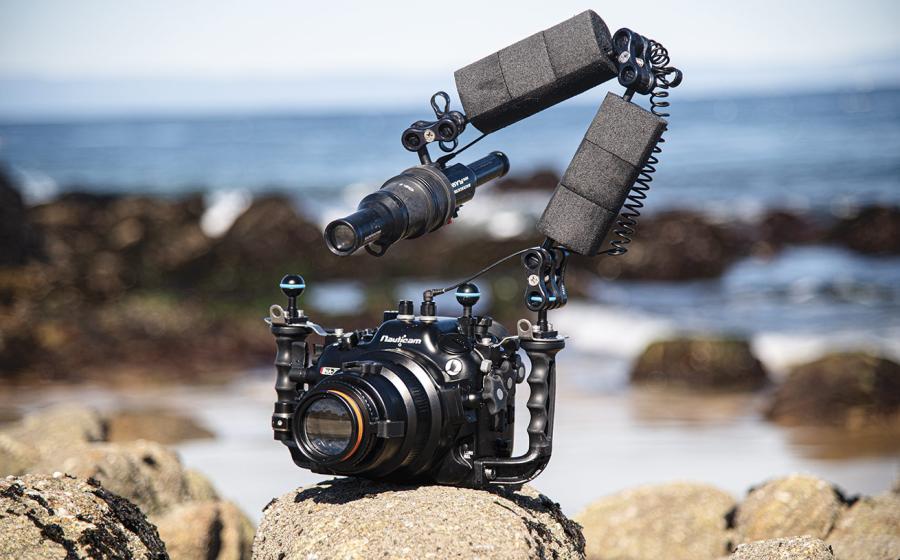
Snooting will require a few pieces of gear. You’ll need a flash with a compatible snoot, a camera capable of shooting macro and a lot of patience. I always mount a snooted flash on the left-hand side of the camera system. This way, my right hand is only operating camera controls, while my left hand aims the snoot. Other pieces of gear that can make life easier when snooting include a 45-degree expanded viewfinder and floats. Viewfinders are a lifesaver for macro shooting. They make spotting critical details easier and are more comfortable to view. Buoyancy aids (floats) make the camera system closer to neutral and easier to aim and handle.
The Settings
With gear squared away, let’s cover settings. The following are jump settings; they’re a good place to start but are by no means the only way to shoot macro. One of the main goals of snooting is to achieve a black background. This adds drama and separates the subject from the background, especially if they are camouflaged. First, use the fastest shutter speed your camera can synchronize with the flash. This is typically 1/200 to 1/400, depending on the camera model. Fast shutter speeds cut down ambient light, keeping the background dark. Next is ISO; keep this to a minimum, usually 100 or 200. A low ISO means the sensor is taking in less light and, as a bonus, results in cleaner images. Last is aperture; set this to f/22 or the highest your lens can reach. This will darken the background and provide a generous depth of field to keep everything in focus.
The Technique
From here, all you have to do is light your subject. Now patience comes into play. First, find a subject, typically something slow or stationary. Blennies, fringeheads, small anemones and polyps are a good choice since they generally don’t move frequently. Then, locate the subject with your camera and aim your snoot until the target light appears in the frame, lighting the subject. In general, you’ll want to place the snoot overhead, pointing downward at a slight angle. This casts shadows, making the subject appear more three-dimensional. Next, achieve critical focus on a key feature, like an eyeball or rhinophore. Focus is extremely important, so take your time and use tools like focus gears and focus peaking. With the subject in focus, take a photo and check the exposure. Increase or decrease flash power and position as needed. A major key to success here is taking a lot of photos.
Related Reading: 3 Underwater Photo Skills You Should Master
Once you get the hang of snooting, it’s time to experiment and get weird with it! Snooting opens up many creative possibilities that radically change the feel of the image. You can use a snoot to backlight a subject or combine a front-facing snoot and a backlight for rim lighting. Color filters can be used for colorful backgrounds and to add contrast. You can also open the aperture and play with a shallow depth of field to get a softer look with heavy bokeh. The sky (or surface) is the limit on what snooting can achieve.