
Digital Photography 101: Creative Effects with a Lensbaby
Christian Loader/Scubazoo

Christian Loader/Scubazoo
Christian Loader/Scubazoo
Christian Loader/Scubazoo

Christian Loader/Scubazoo
Christian Loader/Scubazoo
Christian Loader/Scubazoo

Christian Loader/Scubazoo
Christian Loader/Scubazoo

Christian Loader/Scubazoo
Christian Loader/Scubazoo
Christian Loader/Scubazoo

Christian Loader/Scubazoo
Christian Loader/Scubazoo

Christian Loader/Scubazoo
Macro and wide-angle lenses are no doubt considered by the majority of underwater photographers to be the “serious” lenses in their collection, as well as a good topside lens perhaps. But what about cheaper “novelty” lenses, like those by the unusual brand Lensbaby?
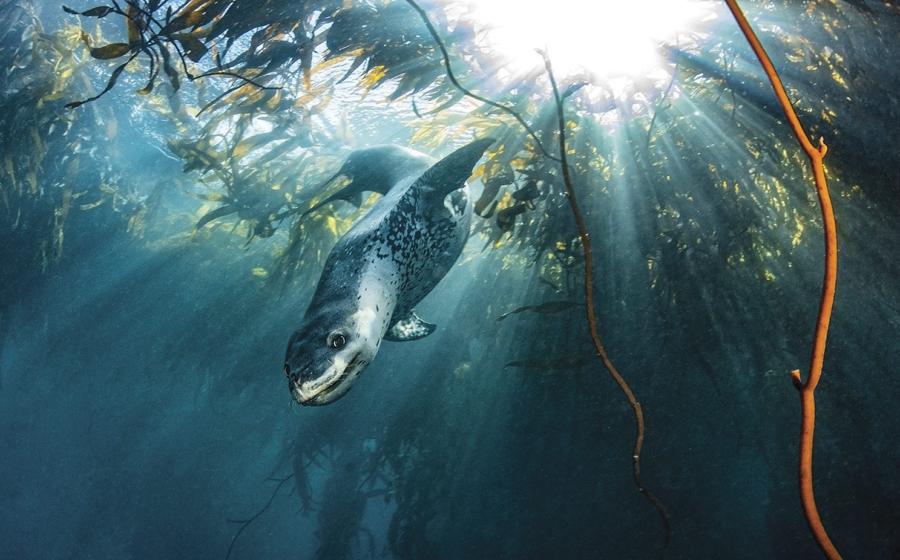
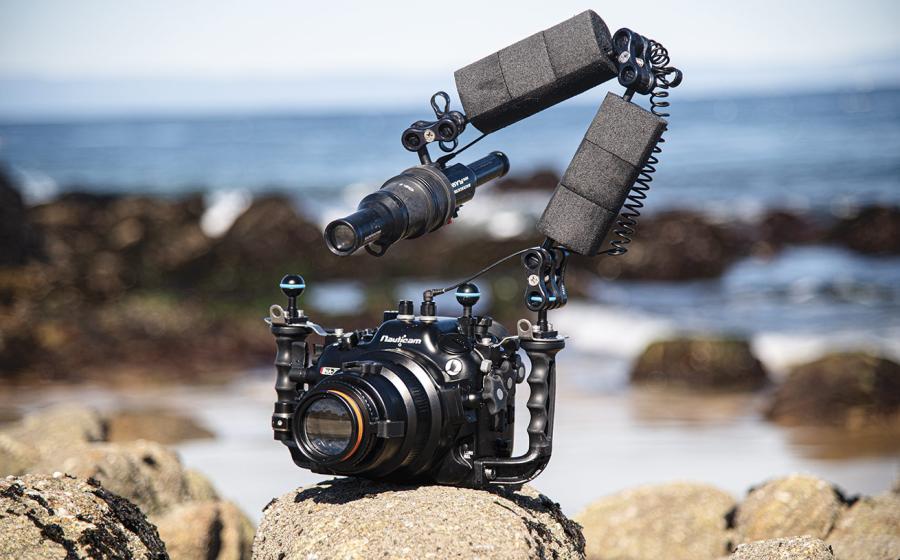
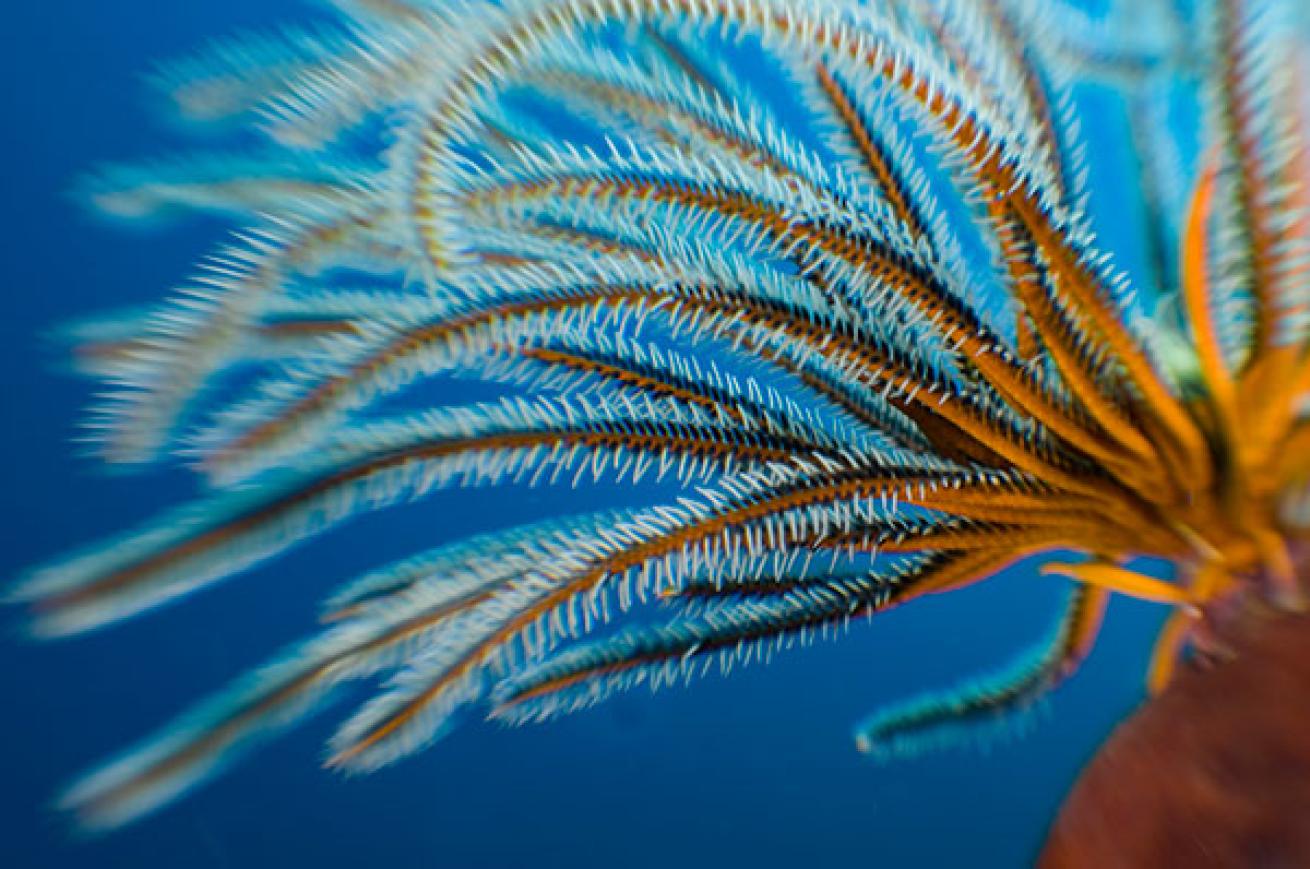
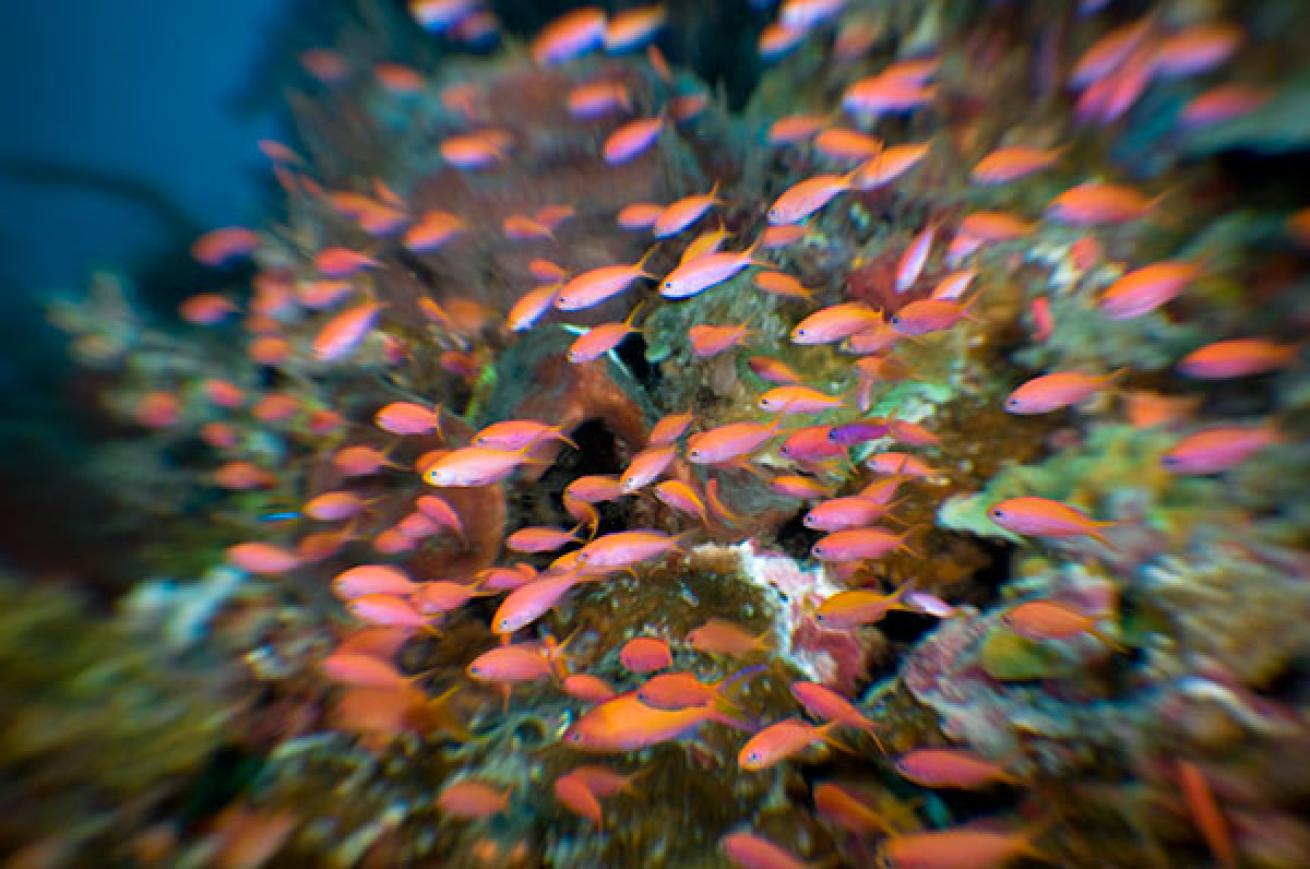
When I'm in the mood for a bit of experimentation with my underwater photography, I often use my Lensbaby Composer – a 50mm lens in which the front portion can be swivelled around (like a ball head & socket), to achieve selective focus in a portion of the frame known as the “sweet spot”, surrounded by graduated blur. The results produced by the Composer are similar to those of genuine tilt-shift (perspective control) lenses by Canon & Nikon for example, but at a fraction of the cost.
The Composer has no electronic components, disabling autofocus, while the aperture is controlled by a range of interchangeable drop-in discs (f/2.8 – f/22). Shooting in aperture priority or manual mode, you can adjust shutter speed, ISO, and the power of your strobes to correctly expose your images. The Composer's tight focal length of 50mm, and nail-biting closest focusing distance of 45cm is enough to scare most away from shooting with it underwater. However, Lensbaby's “0.42x Super Wide” accessory lens gives a wider focal length of 21mm and a much closer focusing distance, and the accessory “Macro Kit” with a +4 and +10 diopter allows for focusing to within a couple of centimetres. Both the wide-angle and macro accessory lenses I found to be essential in getting the best out of the Composer underwater.
Here are some tips to help you start shooting a Lensbaby underwater:
Shooting with the Composer alone, or with the added macro diopter, set up your Composer inside your housing's standard flat macro port, or an ideal combination of extension rings and a flat port. Shooting with the wide-angle accessory lens, use a dome port.
Unless you can attach a focus gear onto the Composer, you'll have to set the focus distance before the dive when setting up your camera, as well as the Composer's tilt. Annoyingly, you'll have to stick with these settings for the duration of your dive, minimising your options of what subjects you can shoot. It's best to keep the tilt to a minimum, with the sweet spot either in the centre or slightly off-centre, and I recommend setting a fairly close focus distance.
You should have a focus/zoom gear for your other lenses (e.g., a Nexus focus gear for a Nikon 60mm macro lens). With a bit of clever D.I.Y., attach a suitable gear onto your Composer's focus ring — you can use rubber bands for example around the Composer to ensure a snug fit. Make sure the focus gear now sits correctly with the cog inside your housing. With luck, you should now be able to control the focus, which opens up so many more possibilities for shooting on a dive.
The focus gear works reliably when the Composer's tilt is fixed in the centre (for the duration of the dive). However, you could very slightly tilt to one side of the frame, and then adjust the position of the focus gear when you're setting up your camera – but be careful the focus gear doesn't disconnect from the cog inside your housing as you move your camera around.
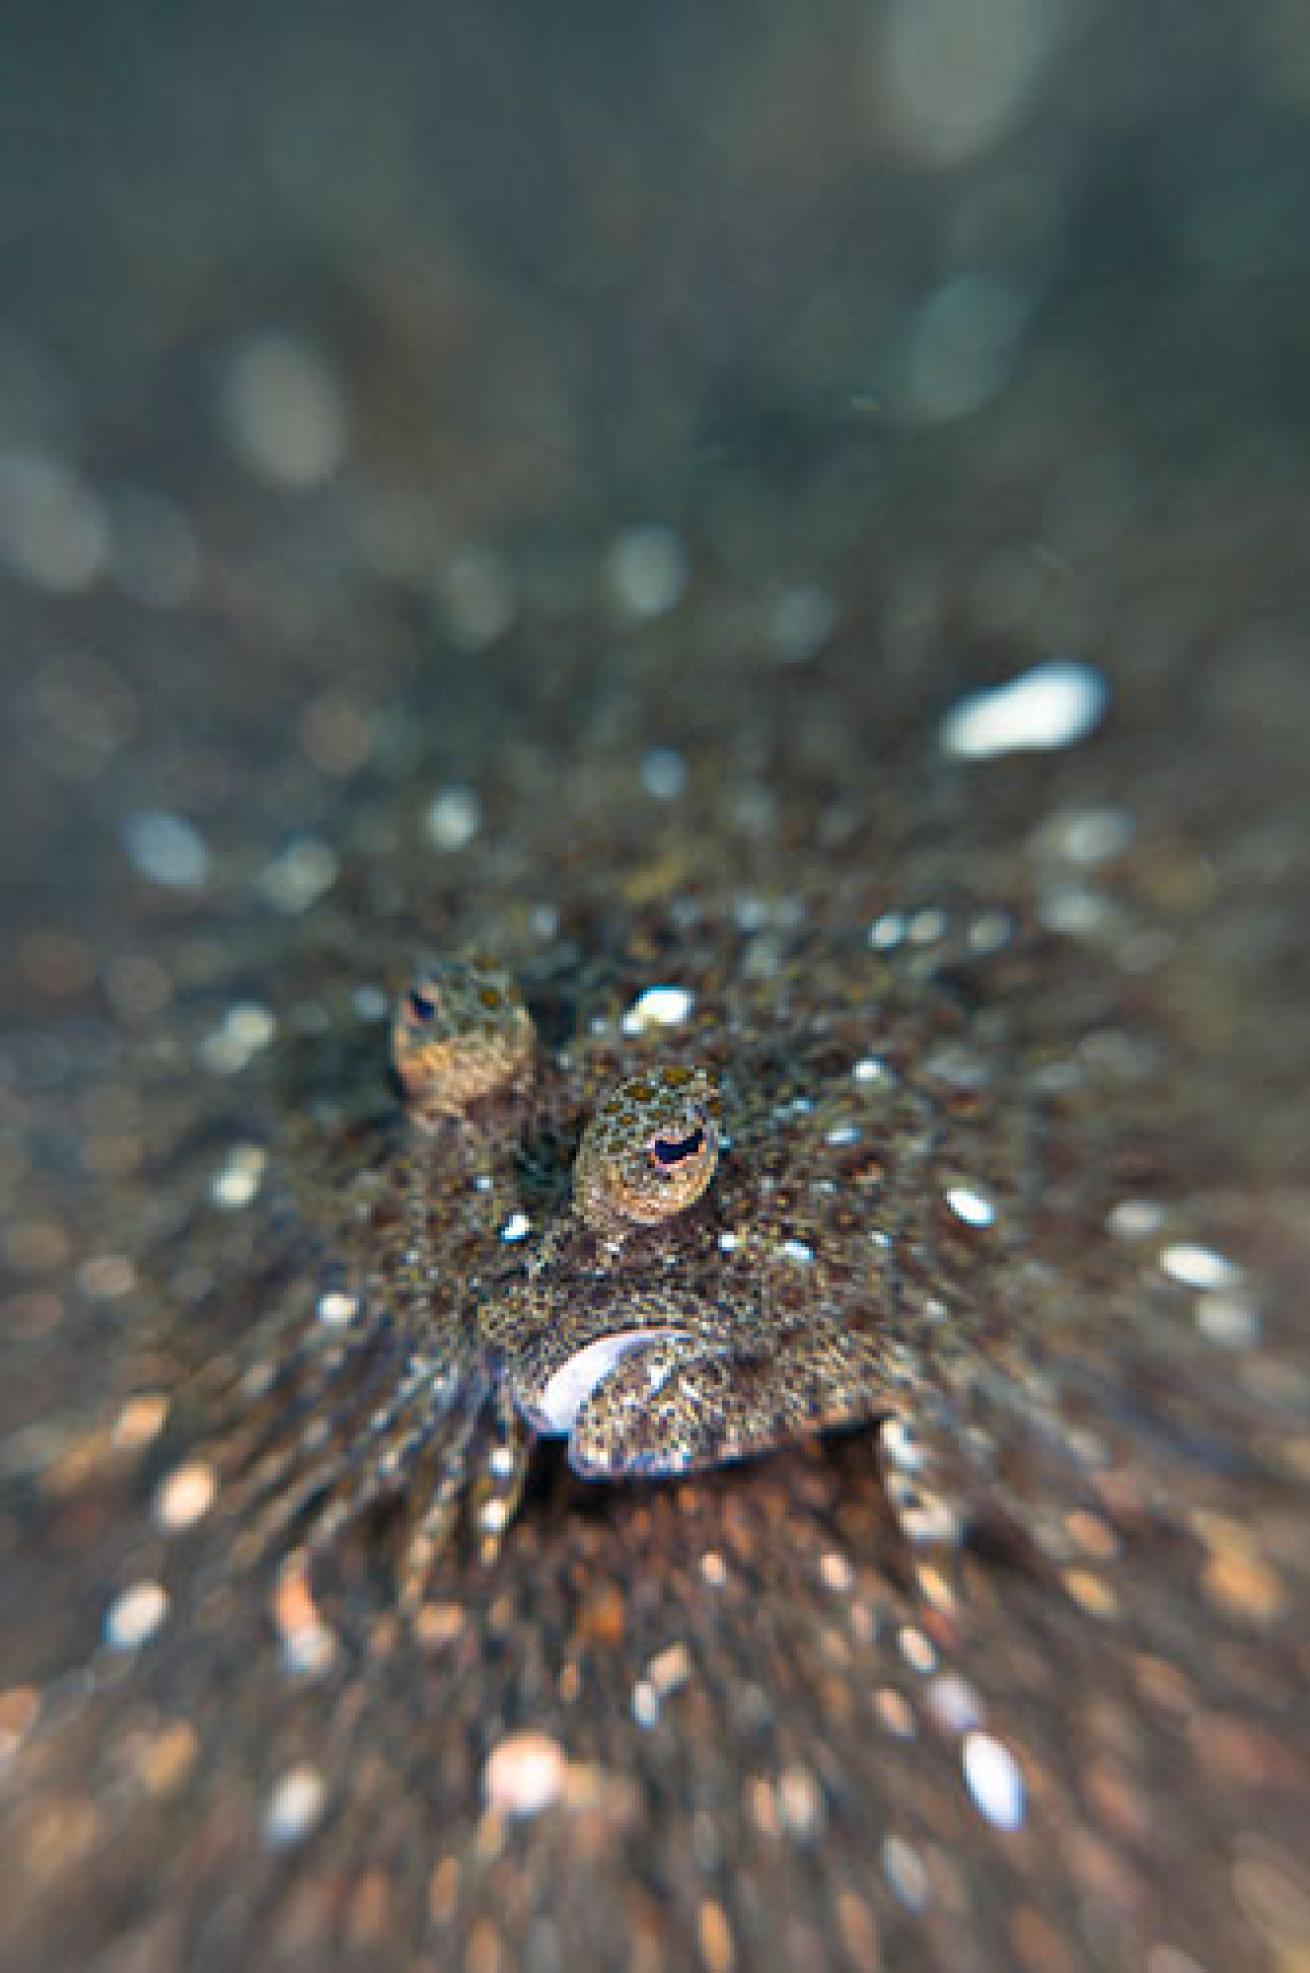
Looking through the viewfinder, it's quite difficult to see if the subject in the sweet spot is sharply in focus, so you may need to take multiple shots while moving your camera slightly forwards or backwards.
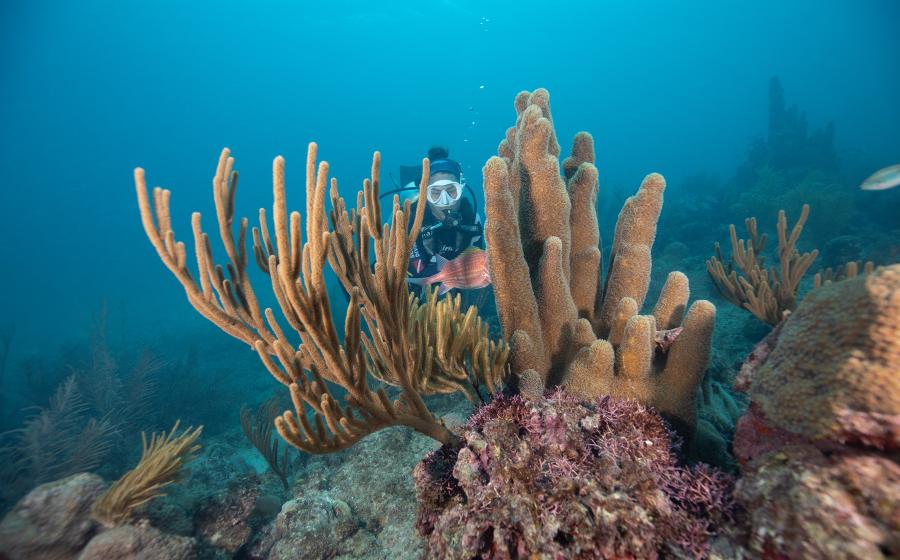
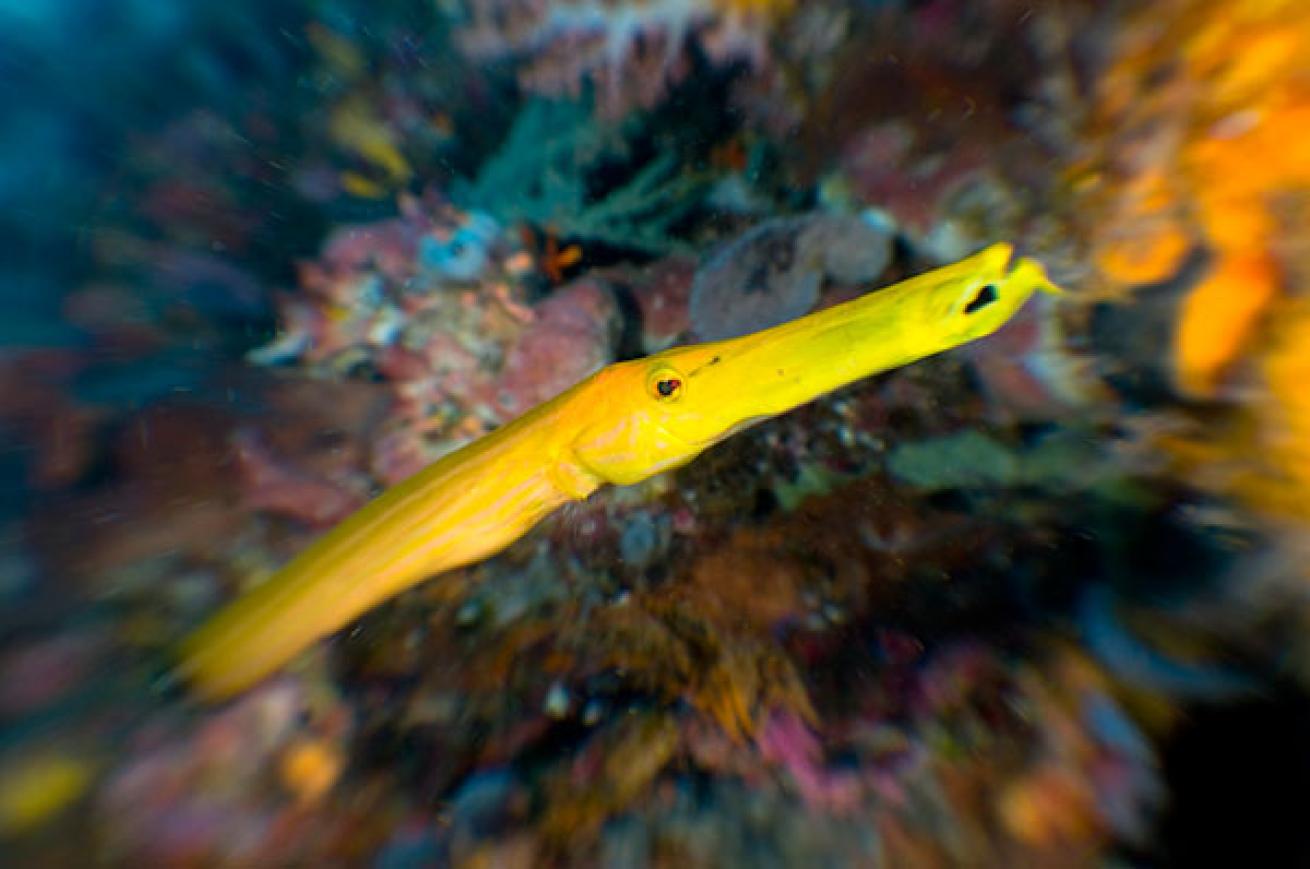
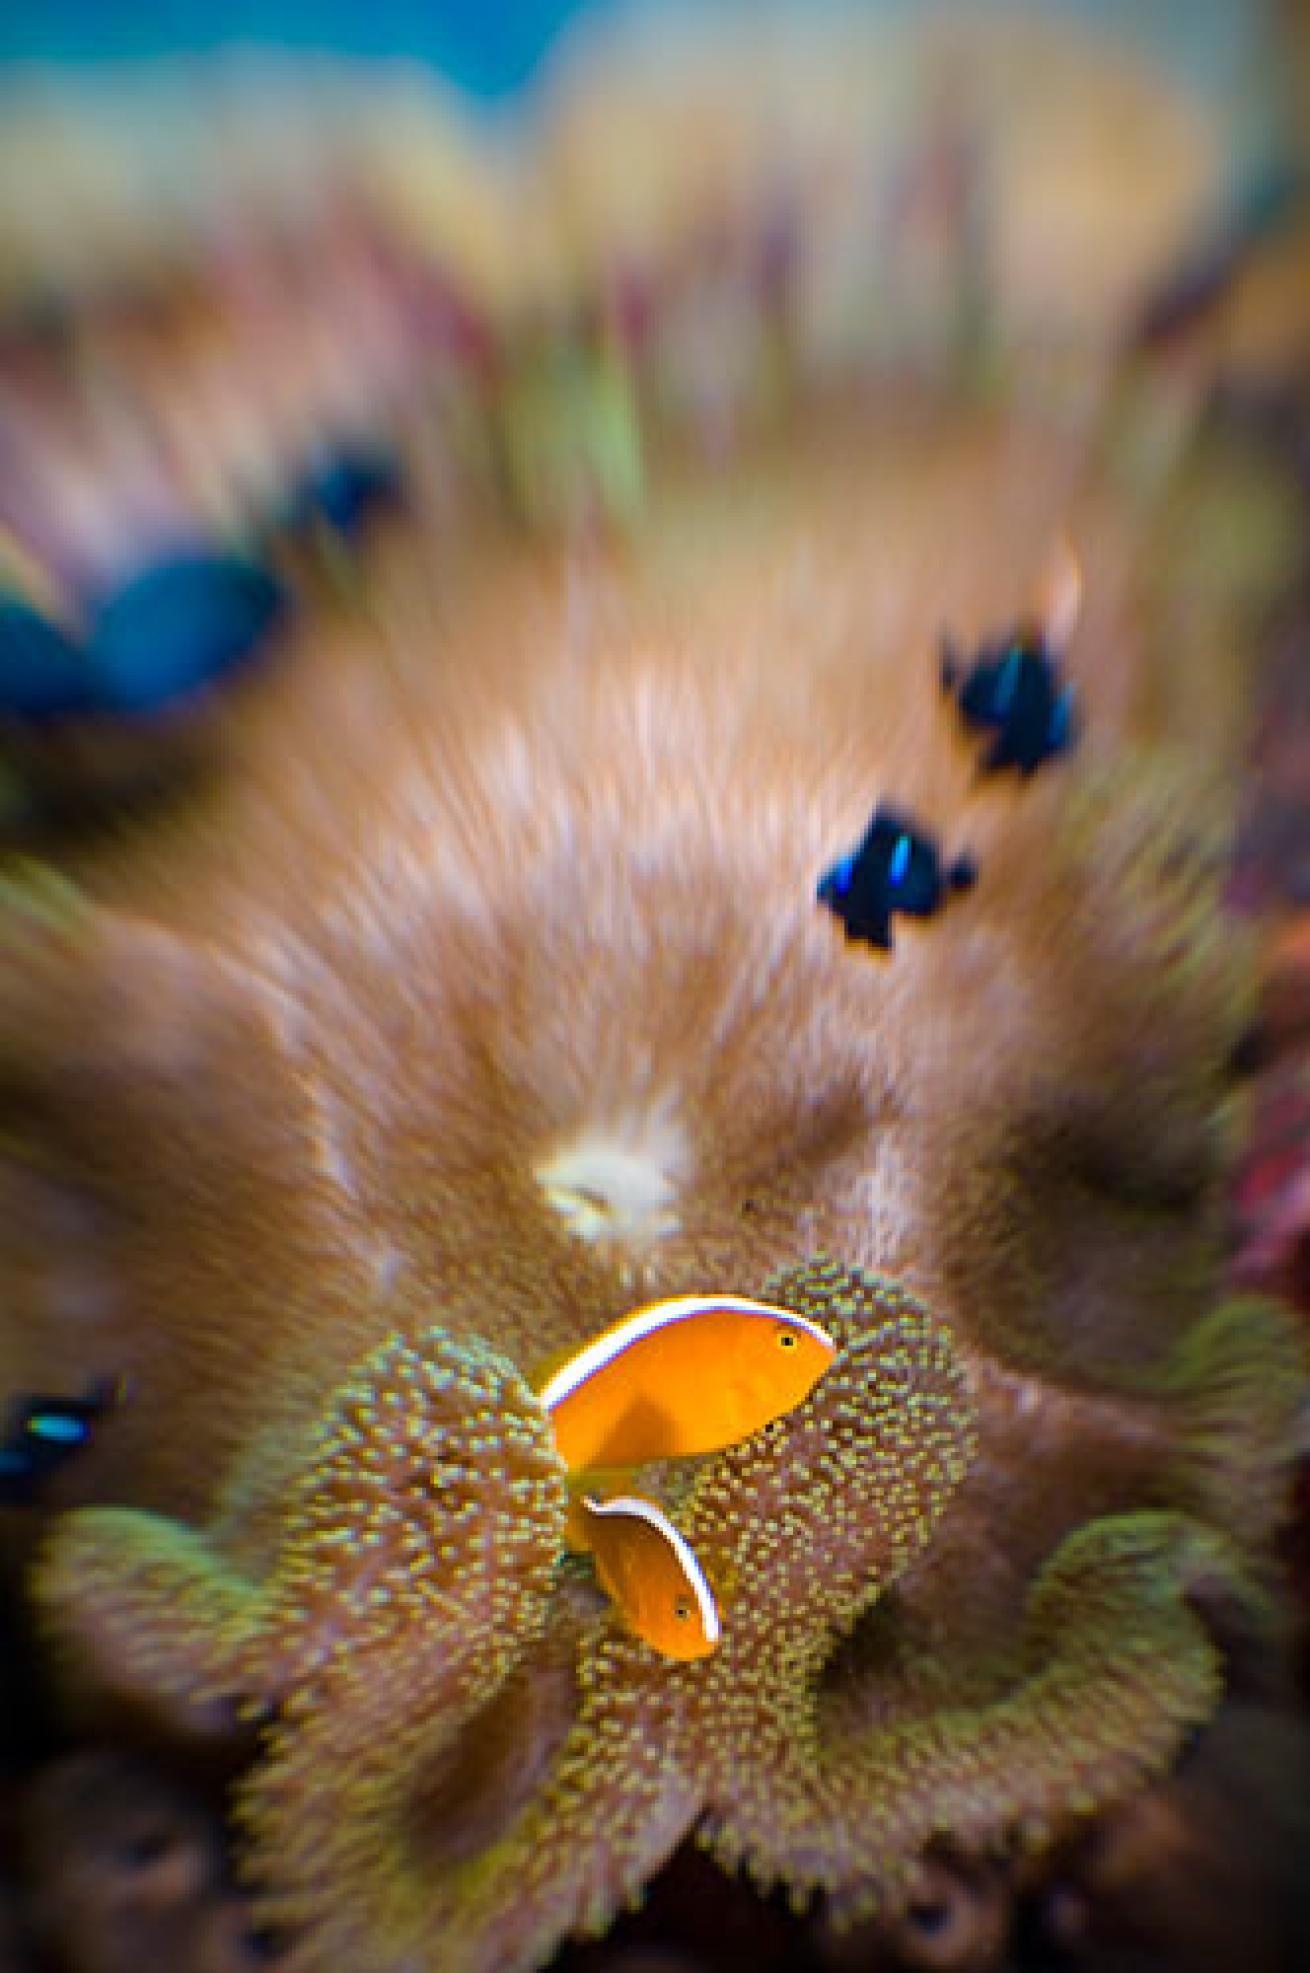
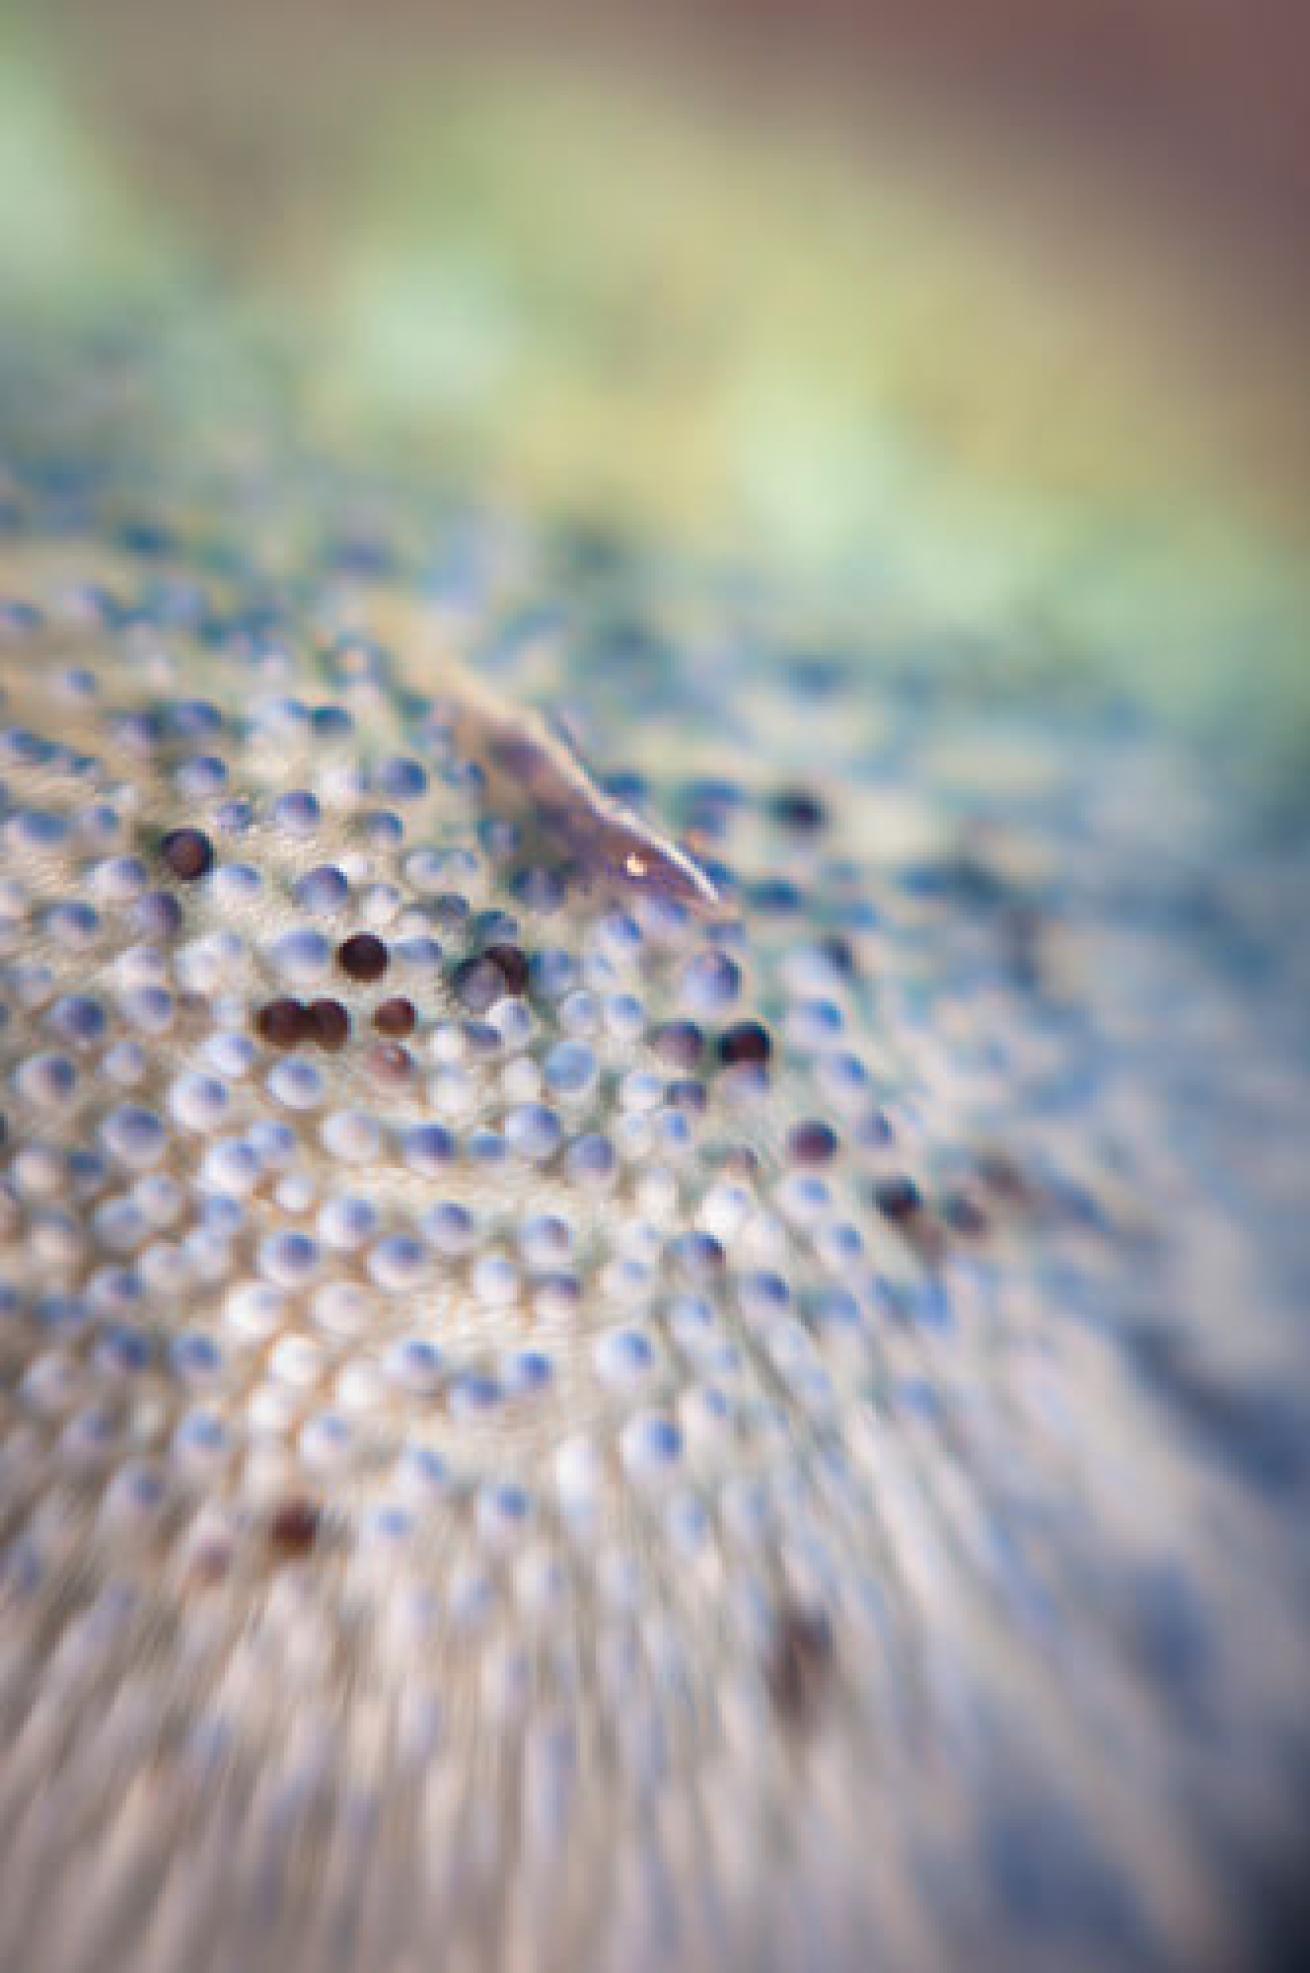
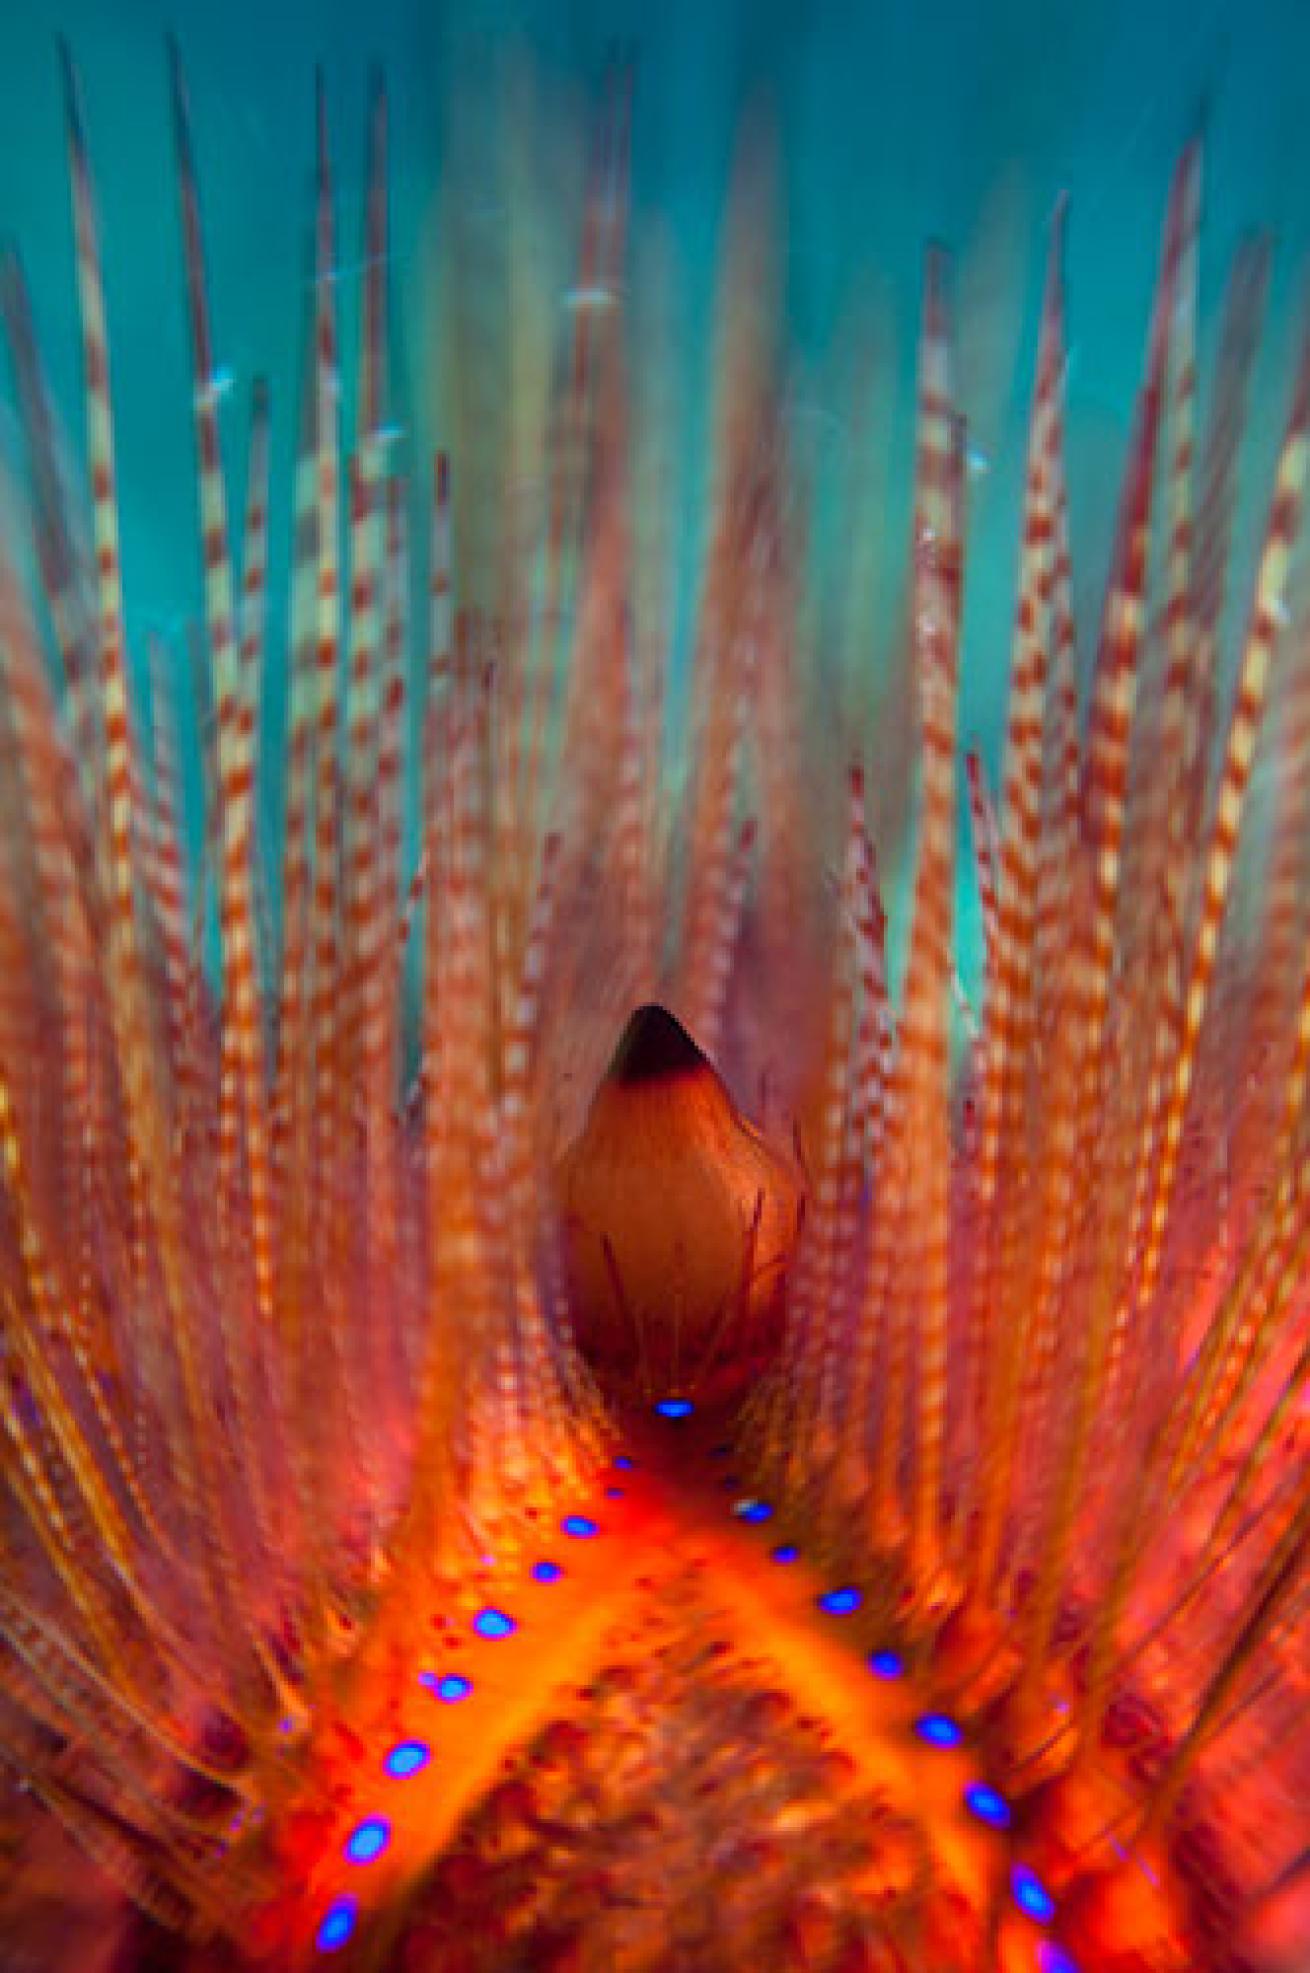
Start off shooting easy, static subjects such as corals, sea fans, urchins, etc. to get familiar shooting with this bizarre lens. Attempting to capture images of moving subjects like fish (with their eyes sharply in focus!) is a bit hit-and-miss. When I was photographing Anemonefish, for example, I spent time watching the movements of the family within the anemone, and eventually noticing a pattern to their movements – so I could frame my shot and focus on one particular point of the anemone and then wait for the fish to come into that spot.
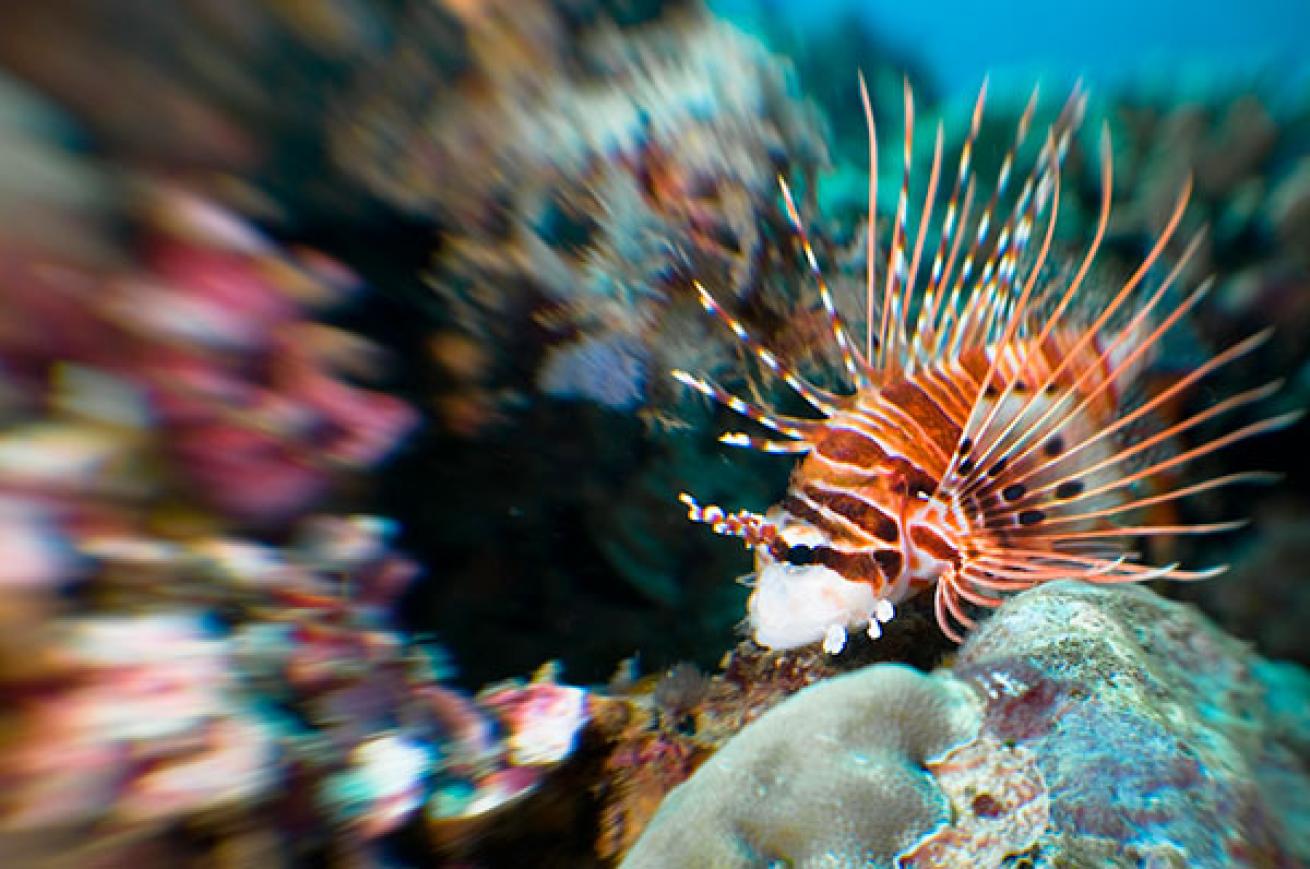
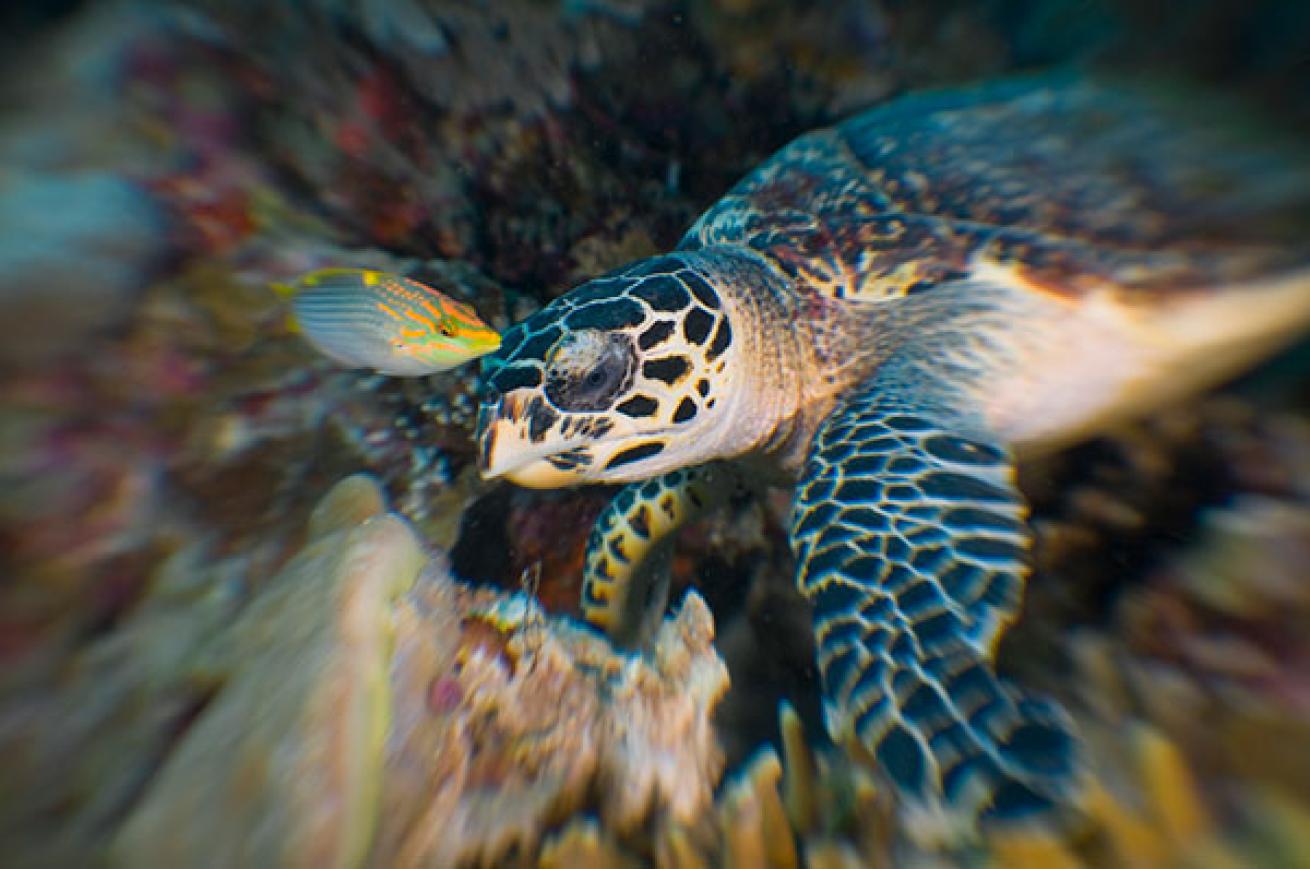
Look for colourful subjects with some foreground/background detail. The viewer's eyes will be drawn to the subject in the sweet spot, while the graduated blur the Composer produces in the rest of the image gives a “zoom blur” look, adding a sense of motion but without having used a slow shutter speed.
Shooting with the Composer underwater is certainly a challenge, and it's not a lens that one should consider using seriously on a typical dive vacation where every minute submerged is precious time to capture your best images. Some critics will no doubt say, “You can just get that effect using Photoshop” – but I much prefer shooting underwater than sitting at a computer!
In this small, blue world where everyone seems to be producing similar images to one another, its nice to try something new – so I'm sure this challenge will appeal to some underwater photographers out there, who can further test the potential of this unusual lens.
Christian Loader (30, UK) is a professional photographer for Scubazoo Images. He has worked extensively throughout SE Asia as an underwater videographer and photographer, and is currently based in Kota Kinabalu, Sabah, Malaysia.