
How To Use Natural Light: Tips for Better Underwater Photography
When strobes or video lights won’t properly illuminate a subject, or if you just want to create a different look to your underwater photos, shooting with just natural light can be a rewarding — and liberating — experience. Try these five simple tips to improve your ambient-light technique.
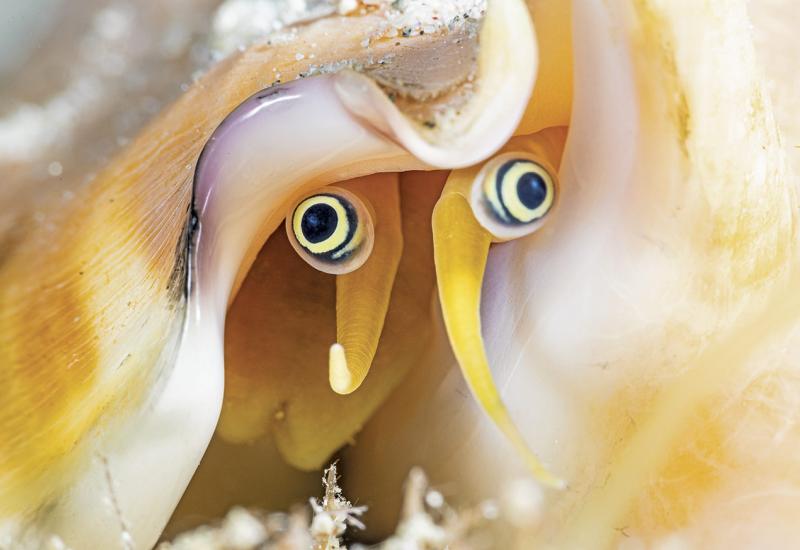
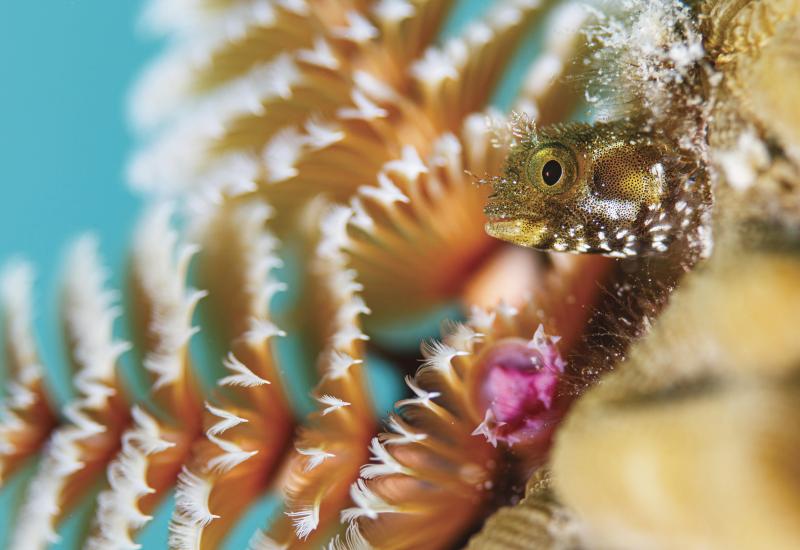
1. Shoot Wide and Get Close Ideally, use a fish-eye lens. This will get you up to 180 degrees of coverage, and will let you get as close as possible to a subject while still maintaining the widest possible view. Even though you’re not using strobes or lights to illuminate your subject, the distance to your target will greatly affect the contrast and color of your shot. Ambient-light macro doesn’t work very well, as macro critters tend to live in dark holes or other places where there isn’t a lot of light.
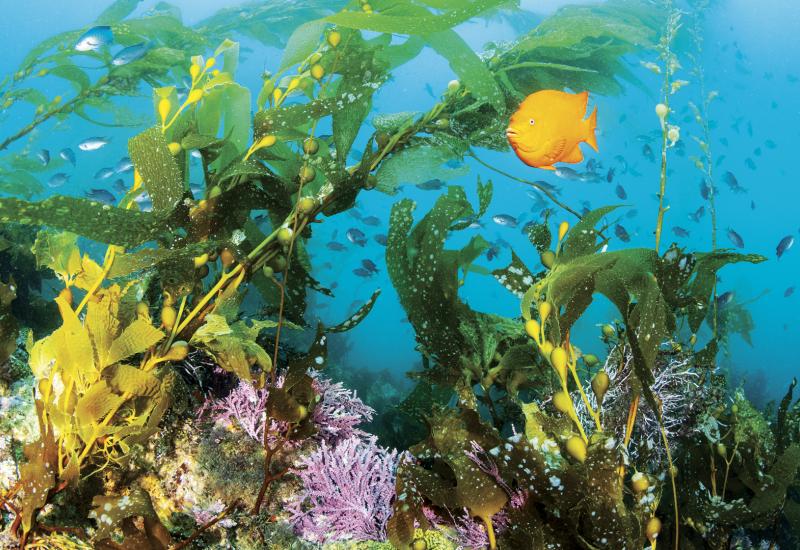
2. Keep the Sun at Your Back Shooting with the sun at your back will create a foreground scene with nice, even lighting. If you shoot into the sun, the foreground will be silhouettes, and the background will be overexposed. If you’re in low visibility, having the sun at an angle to your back will help to reduce the appearance of backscatter and make the visibility look better than it really was.
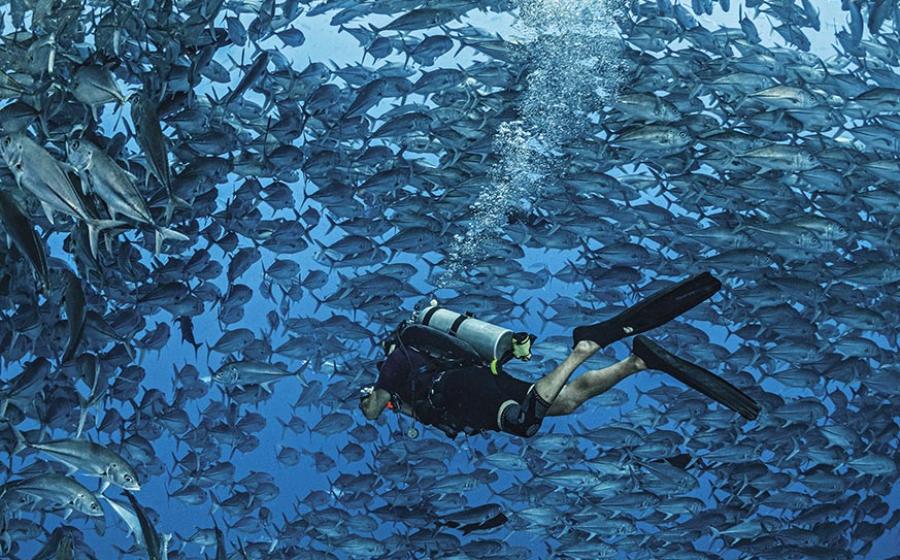
3. Aim Slightly Downward The more you are able to aim your camera lens at a downward angle, the darker blue your background can be. By using this technique, you can compose the shot to crop out the brightest part of the background at the top, resulting in a nice, deep-blue background. It works especially well when shooting a down angle over a reef wall.
4. Use a Color-Correction Filter As you remember from your open-water-diver class, red is the first color to be lost as you descend in the water column. A red-colored filter will help return some of that lost color and is effective even as shallow as 15 feet below the surface. If you’re shooting in fresh water that looks more green than blue, use a magenta filter instead of red to achieve best results.
5. Use Custom White Balance By executing a custom white balance, you are giving the camera the baseline for white from which it will adjust all other colors present in the image. This will help return those lost reds. If you’re shooting photos in RAW format, you can adjust white balance nondestructively in postproduction with image-editing software such as Lightroom or Aperture. If you’re shooting movies or JPEG photos, try to get the white balance as close as you can in camera, as color changes made in postproduction will add noise and degrade the image. Most cameras work well with a custom white balance down to about 30 to 40 feet. By using a color-correction filter in combination with a custom white balance, you’ll get the best results and be able to shoot a little deeper with just ambient light.
And Another Thing: Try a Black-and-White Conversion
Ambient-light shots work great as black-and-white conversions, especially on shipwrecks and deeper scenes where even a custom white balance and color filters won’t bring back the reds. When doing your conversion in an editing program such as Lightroom or Aperture, you can adjust how the individual colors get converted to black-and-white. This enables more control over the exposure and contrast of your image, and allows you to be more creative than just converting straight to grayscale.
Jim DeckerThe visibility on this dive was horrible. With an external fish-eye lens and custom white balance on a compact camera, the colors came out looking good, and the viz looks far better than it was in reality.
When strobes or video lights won’t properly illuminate a subject, or if you just want to create a different look to your underwater photos, shooting with just natural light can be a rewarding — and liberating — experience. Try these five simple tips to improve your ambient-light technique.
1. Shoot Wide and Get Close Ideally, use a fish-eye lens. This will get you up to 180 degrees of coverage, and will let you get as close as possible to a subject while still maintaining the widest possible view. Even though you’re not using strobes or lights to illuminate your subject, the distance to your target will greatly affect the contrast and color of your shot. Ambient-light macro doesn’t work very well, as macro critters tend to live in dark holes or other places where there isn’t a lot of light.
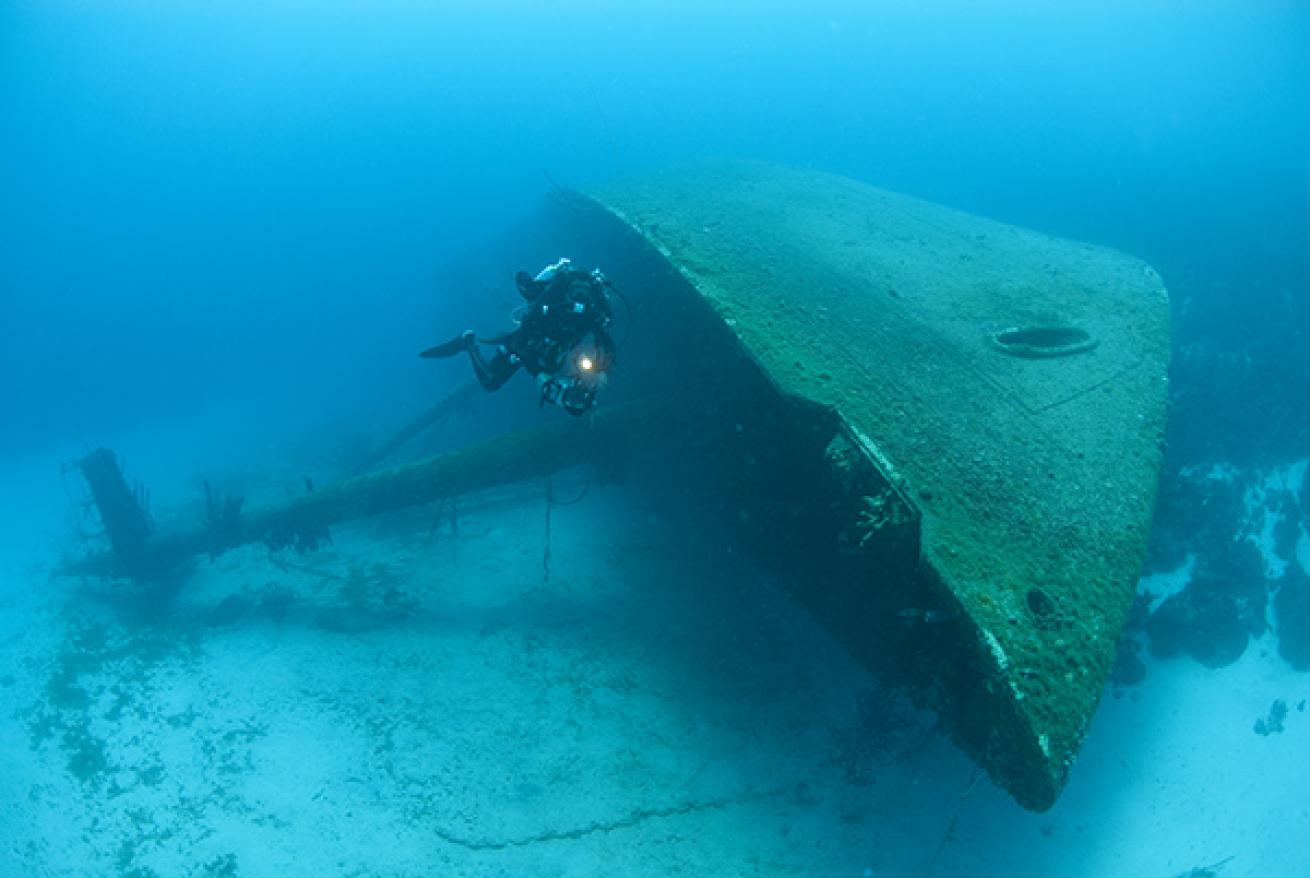
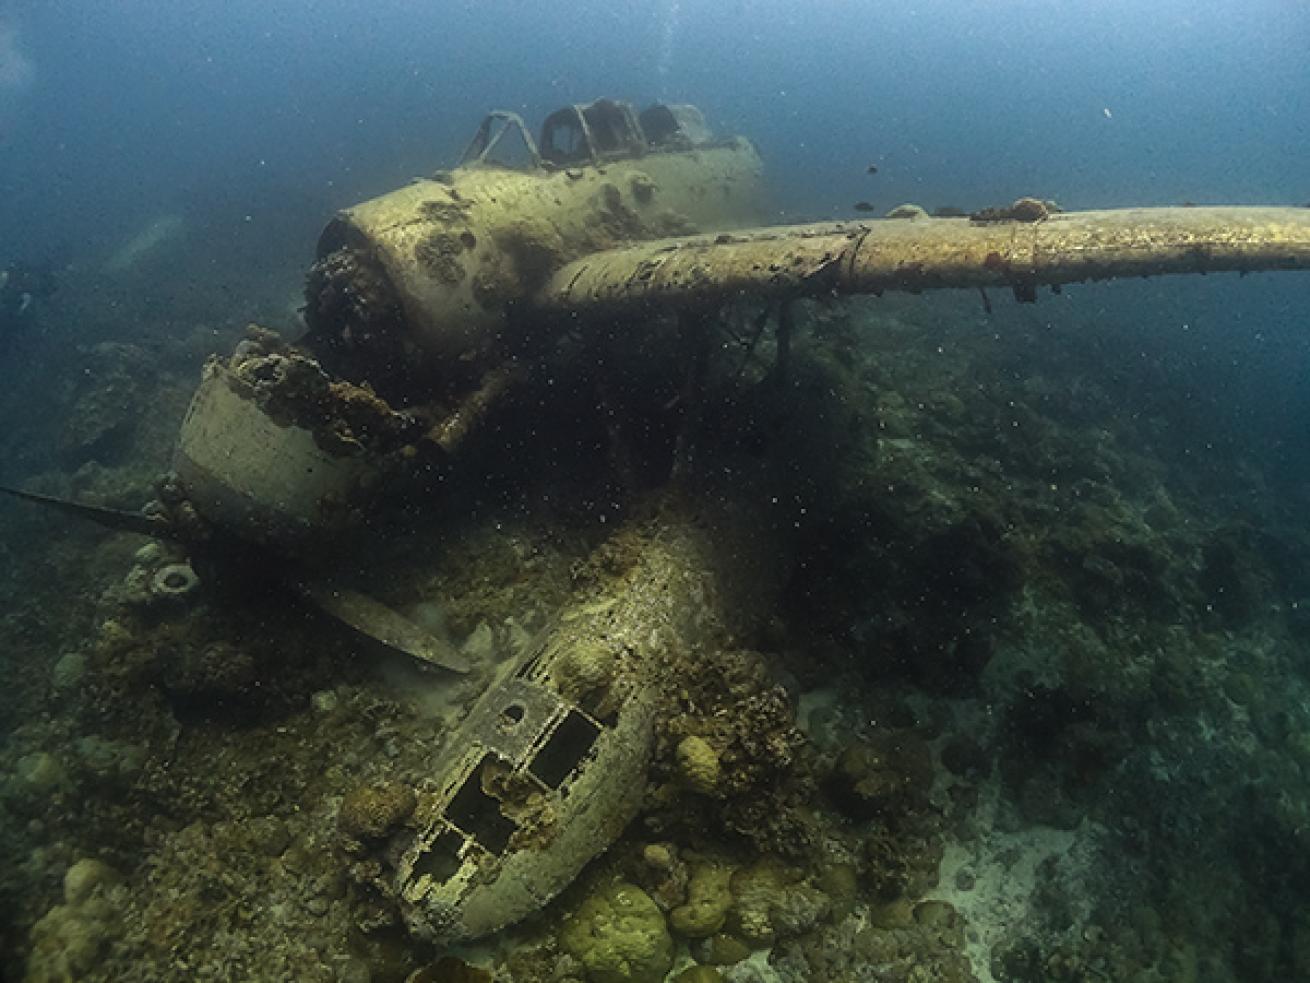
Jim DeckerThis wreck was 100 feet down in the sand. That deep, a custom white balance won't bring back the natural colors.
2. Keep the Sun at Your Back Shooting with the sun at your back will create a foreground scene with nice, even lighting. If you shoot into the sun, the foreground will be silhouettes, and the background will be overexposed. If you’re in low visibility, having the sun at an angle to your back will help to reduce the appearance of backscatter and make the visibility look better than it really was.
3. Aim Slightly Downward The more you are able to aim your camera lens at a downward angle, the darker blue your background can be. By using this technique, you can compose the shot to crop out the brightest part of the background at the top, resulting in a nice, deep-blue background. It works especially well when shooting a down angle over a reef wall.
4. Use a Color-Correction Filter As you remember from your open-water-diver class, red is the first color to be lost as you descend in the water column. A red-colored filter will help return some of that lost color and is effective even as shallow as 15 feet below the surface. If you’re shooting in fresh water that looks more green than blue, use a magenta filter instead of red to achieve best results.

Jim DeckerAmbient-light shots work great as black-and-white conversions, especially on shipwrecks and deeper scenes where even a custom white balance and color filters won't bring back the reds.
5. Use Custom White Balance By executing a custom white balance, you are giving the camera the baseline for white from which it will adjust all other colors present in the image. This will help return those lost reds. If you’re shooting photos in RAW format, you can adjust white balance nondestructively in postproduction with image-editing software such as Lightroom or Aperture. If you’re shooting movies or JPEG photos, try to get the white balance as close as you can in camera, as color changes made in postproduction will add noise and degrade the image. Most cameras work well with a custom white balance down to about 30 to 40 feet. By using a color-correction filter in combination with a custom white balance, you’ll get the best results and be able to shoot a little deeper with just ambient light. And Another Thing: Try a Black-and-White Conversion
Ambient-light shots work great as black-and-white conversions, especially on shipwrecks and deeper scenes where even a custom white balance and color filters won’t bring back the reds. When doing your conversion in an editing program such as Lightroom or Aperture, you can adjust how the individual colors get converted to black-and-white. This enables more control over the exposure and contrast of your image, and allows you to be more creative than just converting straight to grayscale.