
Wide-Angle Underwater Photo Tips for Diving on Walls
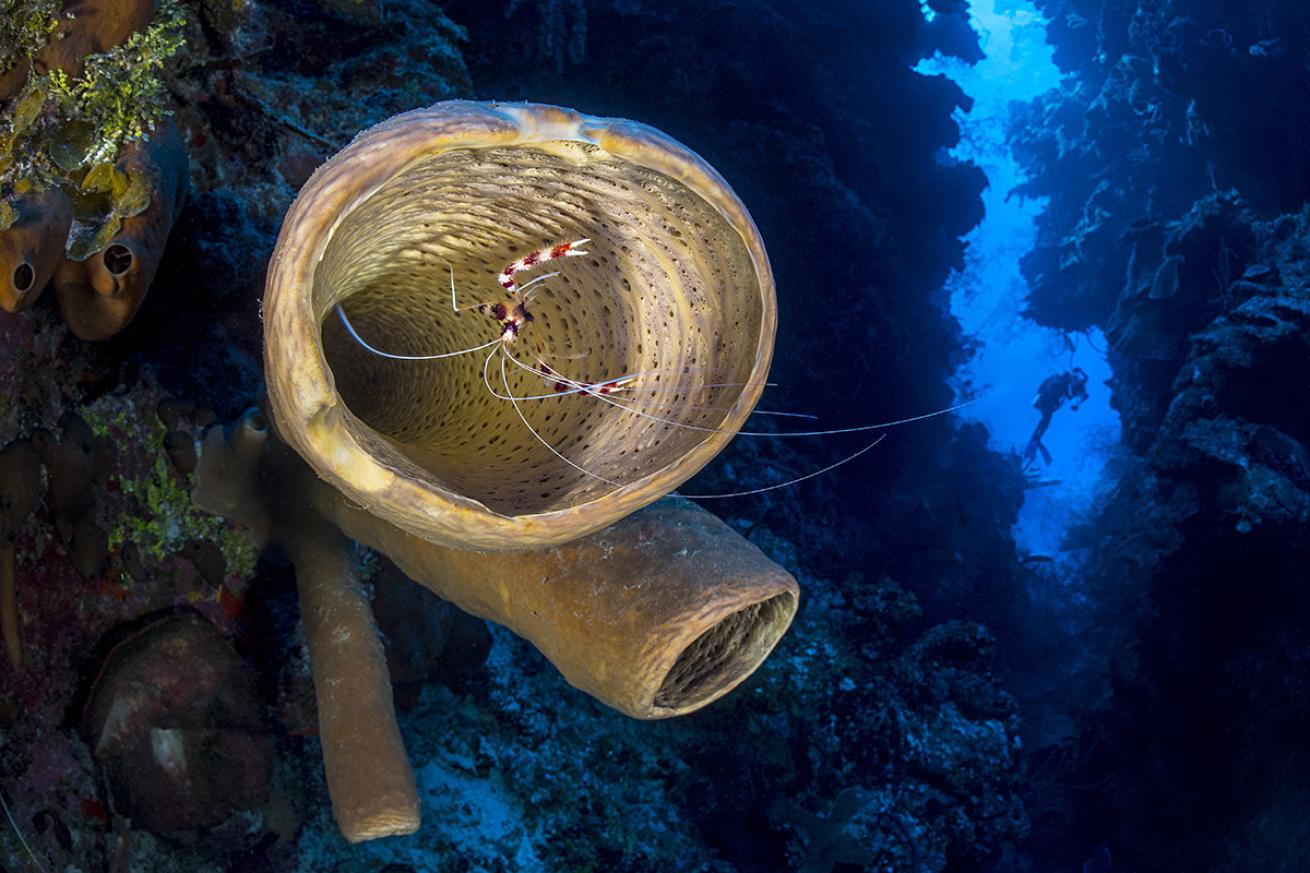
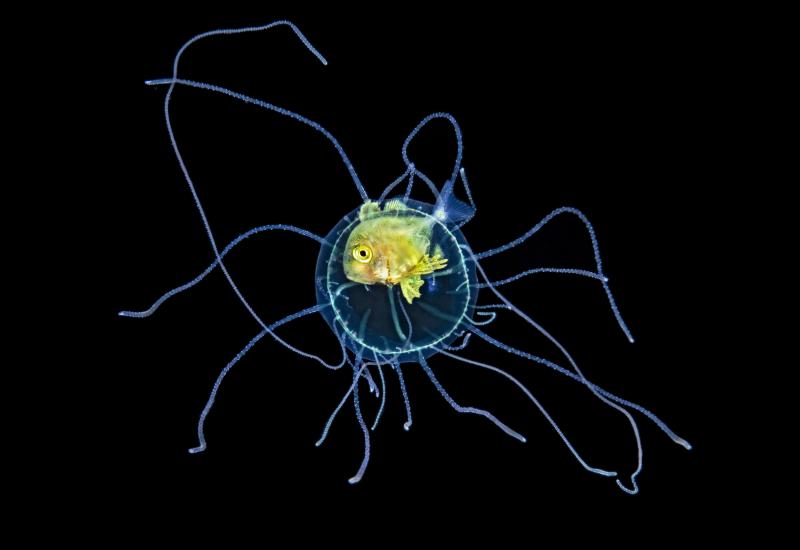
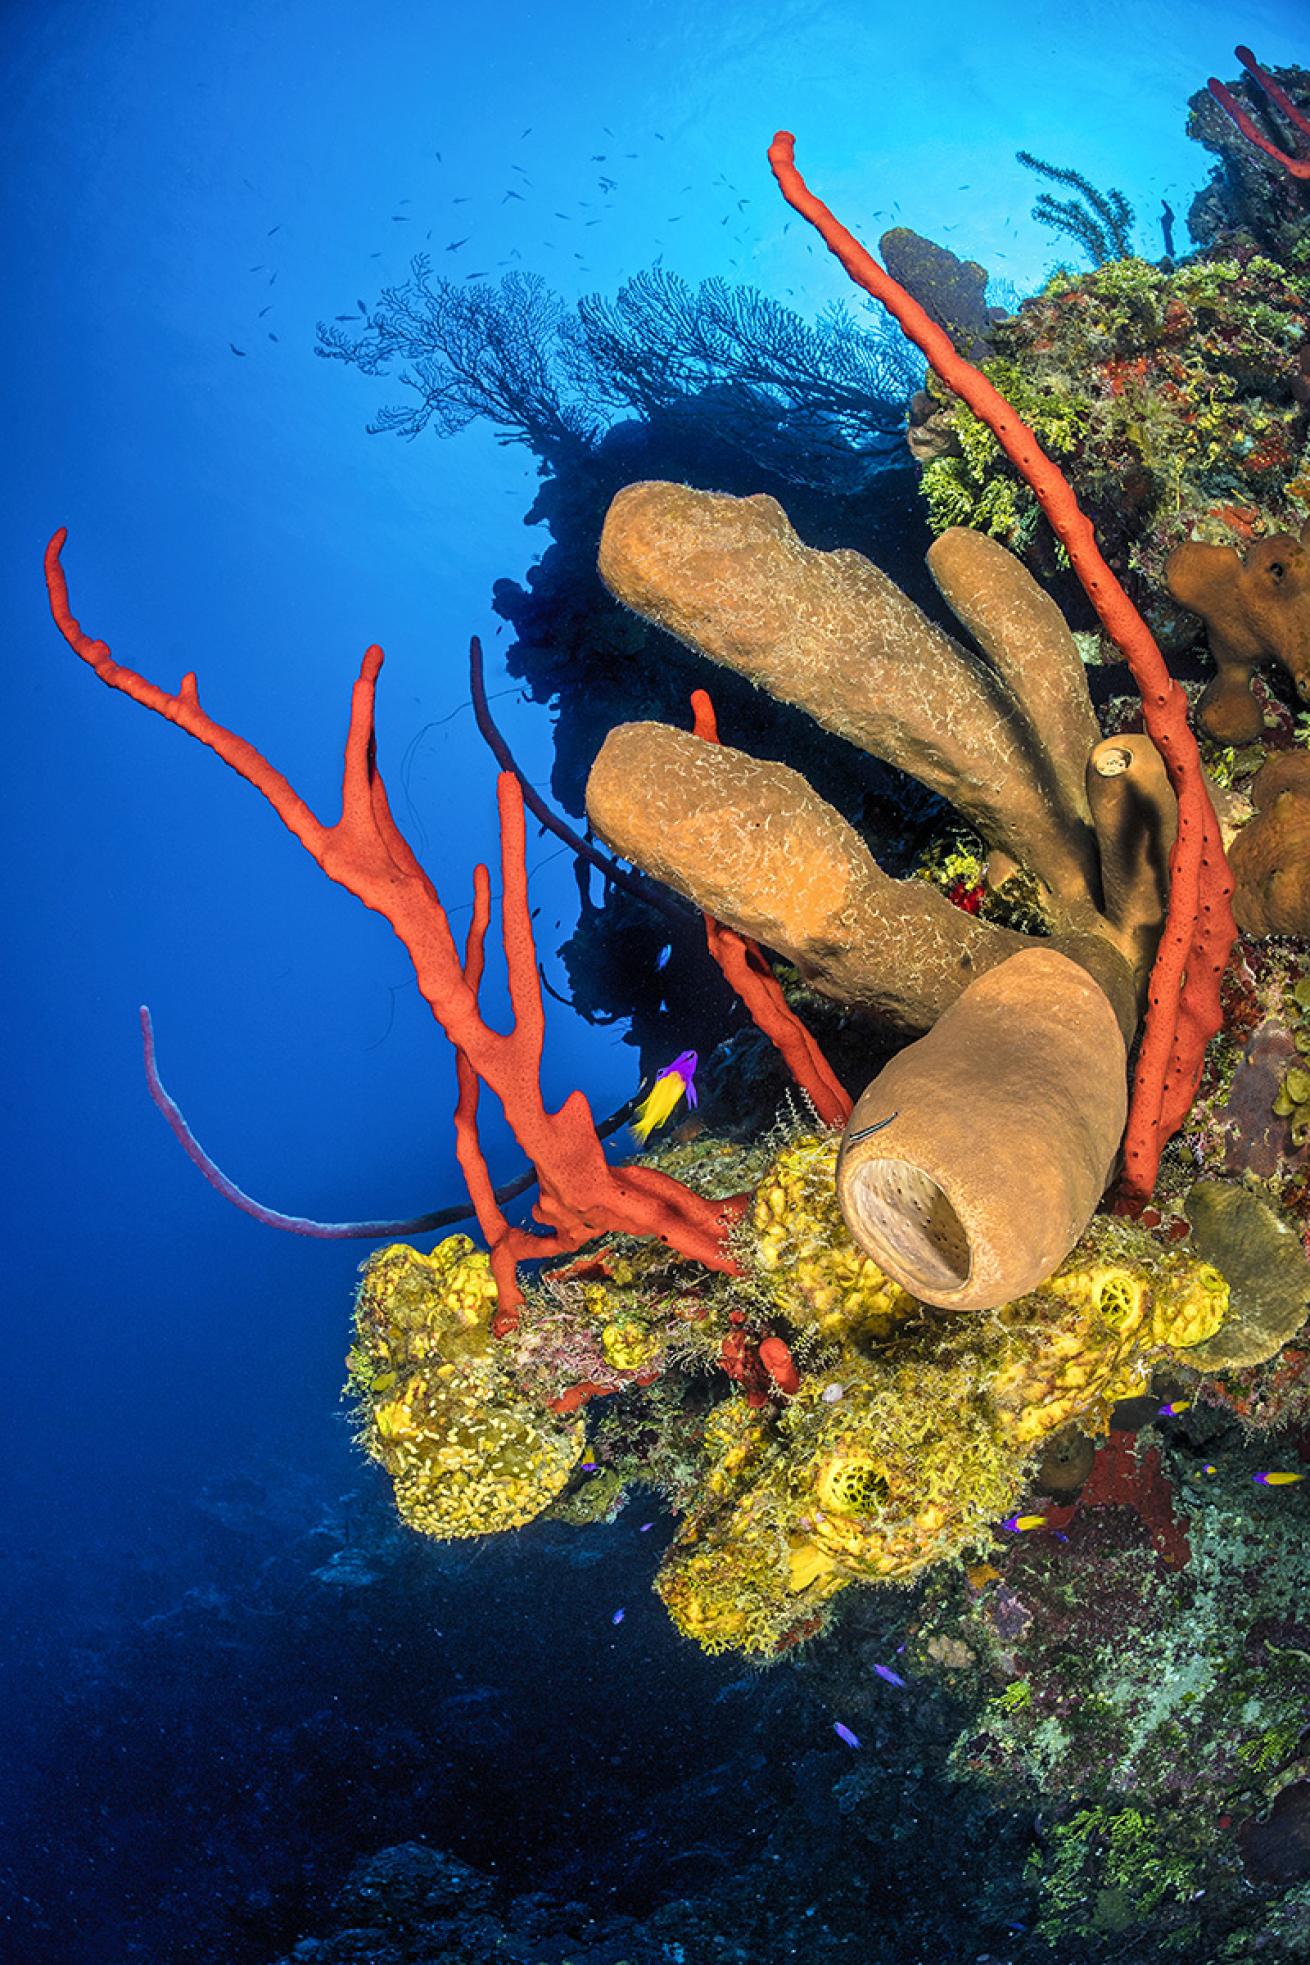
Alex MustardVertical compositions typically suit wall diving, but some subject matter demands a horizontal, like this shrimp in a tube sponge.
One of the greatest thrills in diving is experiencing a shallow reef suddenly giving way to a precipitous wall. One moment your vision is packed with coral, fish and more, and then there is nothing: no horizon, no detail, just the deep blue of the ocean. Clear water intensifies the sensation, magnifying the feeling of weightlessness and inviting divers to explore. This, combined with the fact that they attract masses of marine life, makes walls one of the most popular places to dive. And it’s no surprise that photographers want to capture their splendor to share with others. Here are the best ways to pull it off.
TIP 1: VERTICALLY CHALLENGED
Underwater cameras typically have handles on either side and are far more comfortable to hold horizontally. However, when it comes to wall diving, few things will improve photos as significantly as rotating the camera 90 degrees and shooting verticals.
The ocean changes slowly in the horizontal, yet rapidly in the vertical. This is true for temperature, salinity, light and life. Take light, for example: Swim 100 feet horizon- tally and it changes little, but it totally transforms if you descend 100 feet. Horizontal photos record the monotony of the ocean, and verticals reveal its dynamism. Walls are vertical features, rising up from the depths, and much of the colorful marine growth, like sponges and soft corals, also grows up vertically. When shooting walls, remember to go vertical.
TIP 2: BUILDING WALLS
Memorable wide-angle photos rarely happen by accident—the constraints imposed by the physics of light underwater are too great. In- stead, a series of very deliberate decisions leads to powerful scenic shots, balancing what we want to create artistically against what we can achieve technically.
I start by looking for a strong background around which to build my shot. This provides a sense of place and gives flat, two-dimensional photos a three-dimension- al feeling that will draw the viewer in. The type of features I am looking for are nothing fancy: They might be a prominent overhang, crack or crevice, outcrop or bommie. I am a sucker for out- crops covered by sea fans; instead of swimming to the fans, I search below for a foreground to frame against them. When diving on a wall, I like to drop down over the edge so the wall helps generate the background. As a rule of thumb, I am looking for a background that towers at least 10 to 15 feet above me, to create the right-size background to balance the composition.
Once I have a suitable background, I’ll swim around, looking for a colorful or interesting foreground subject, such as a sponge or soft-coral formation.
The more you shoot, the easier it is to judge the distance needed between fore- ground and background so the background features fill the frame pleasingly. Once that’s locked in, adjust the size of the foreground subject by moving closer or farther out—this won’t affect the size of the background because it remains far away. Compositionally, I try to either frame my foreground subject against open water or against the dark of the reef to make it pop. And when I find a good background, I usually shoot several completely different foreground subjects against it.
Alex MustardGrand Cayman has lots of attractive sponge growth, but it was the sea-fan-covered, silhouetted background that attracted me to this spot.
All this photographic fine tuning often causes the local fish to retreat. So, once I have everything dialed in, I swim away for a minute to allow the fish to emerge again, and then return to my original spot and take the final picture with everything optimized and all the fish in position.
TIP 3: MODEL BEHAVIOR
Many great foreground subjects don’t really have an eye-catching background to complete the shot. A rule of thumb: If a subject is compelling, always shoot it. Even if there is no obvious background, the surface and sunbeams will often be enough. This benefits photographers in the end, because you don’t actually want your entire portfolio to be shot to the same template.
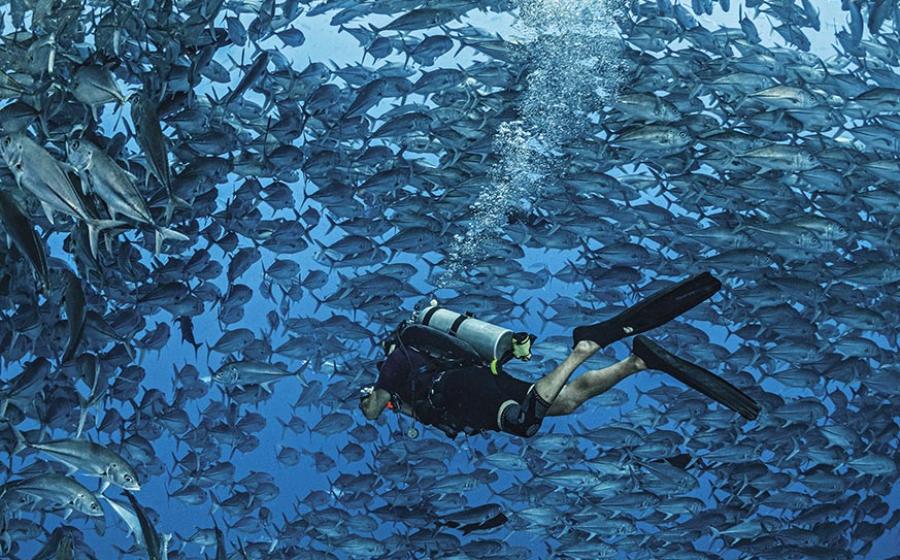
The alternative solution for a background is to persuade your buddy to pose. Including a diver in the background of wide-angle pictures is a classic solution, creating a feeling of depth, a sense of scale and human interest in the scene. The main downside is that you need a willing buddy, and posing for underwater pictures is not how many divers dream of spending their precious bottom time. Getting it right is as much of a challenge as taking pictures, and it can be frustrating work on both sides of the camera. The golden rules are to discuss what you want before the dive, explain how wide your lens sees and set up your shot underwater before taking up your buddy’s dive time. It is much easier for the model—and better-looking—to swim through a picture rather than hover in position. Patiently direct your buddy to swim where you want them, and be grateful for their help. Together you will have the chance to capture a beautiful underwater scene that communicates the wonder of wall diving.